Hiking Pack Torso Fit: Tall & Short Hiker Solutions
By Diego Nakamura • 19th Oct
Hiking isn't about suffering through shoulder bite or hip bruises, it's about stacking comfort-hours per dollar. Most pain stems from one overlooked metric: your hiking pack torso fit. Whether you're built like a redwood or a juniper, the solution starts with ditching height myths and measuring spine-to-hip distance. Here's how to engineer pain-free miles, with clear math and trail-proven fixes.
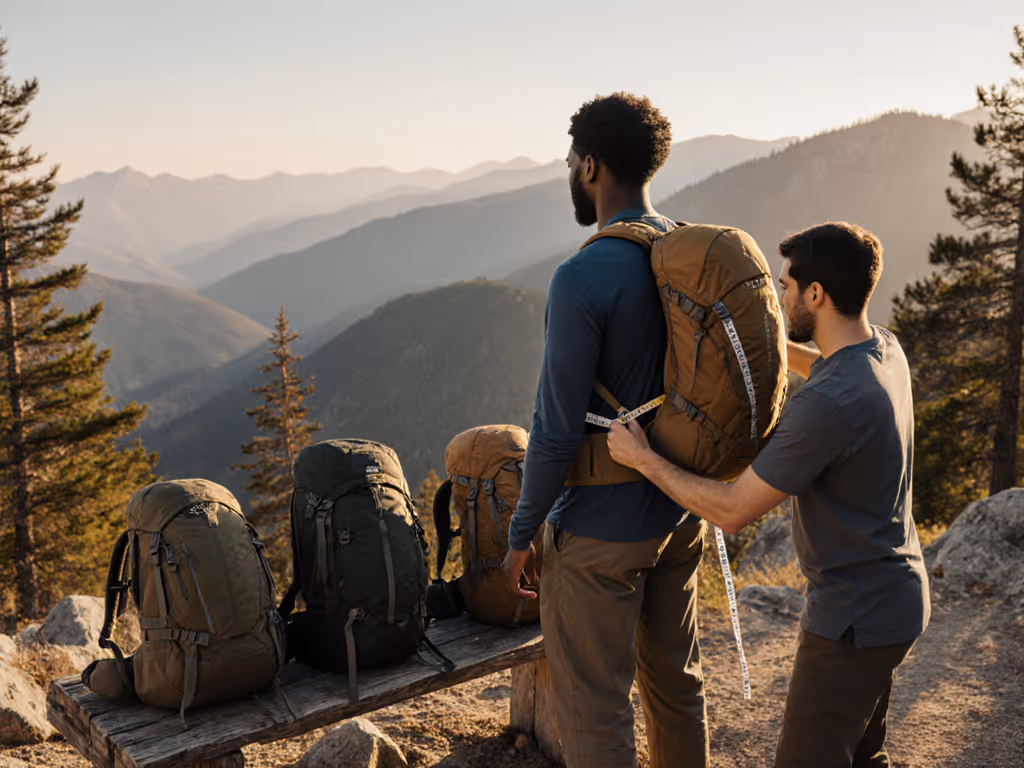
1. Measure Your Torso Like a Pro
Your height is irrelevant. Torso length dictates 80% of fit. To find yours:
- Locate your C7 vertebra (the bony bump at your neck's base)
- Find your iliac crest (top of hip bones)
- Measure straight between them with a flexible tape measure For step-by-step visuals and pro tips, use our torso length measurement guide.
Tall hikers (>19 in torso) often need extended-frame packs to prevent shoulder strap gap and load lifter strain. Short torsos (<16 in) require specialized harnesses to stop hip belts from riding into ribs. Brands like Osprey solve this with adjustable suspensions (no more sizing limbo).
2. Dial Hip-Belt Physics
The golden ratio: 80% weight on hips, 20% on shoulders. For packing layouts that keep that ratio, see our pack weight distribution guide. Achieve it:
- Position hip belt padding directly on the iliac crest (not above or below)
- Tighten until snug but not constricting (test with a deep squat)
- If hips are narrow, look for interchangeable belts (S/M/L options)
Hip bruising? Your belt's too low. Riding up? It's oversized. Modular systems like the Osprey Aether's Fit-on-the-Fly let you swap belts without replacing the whole pack (critical for atypical proportions).
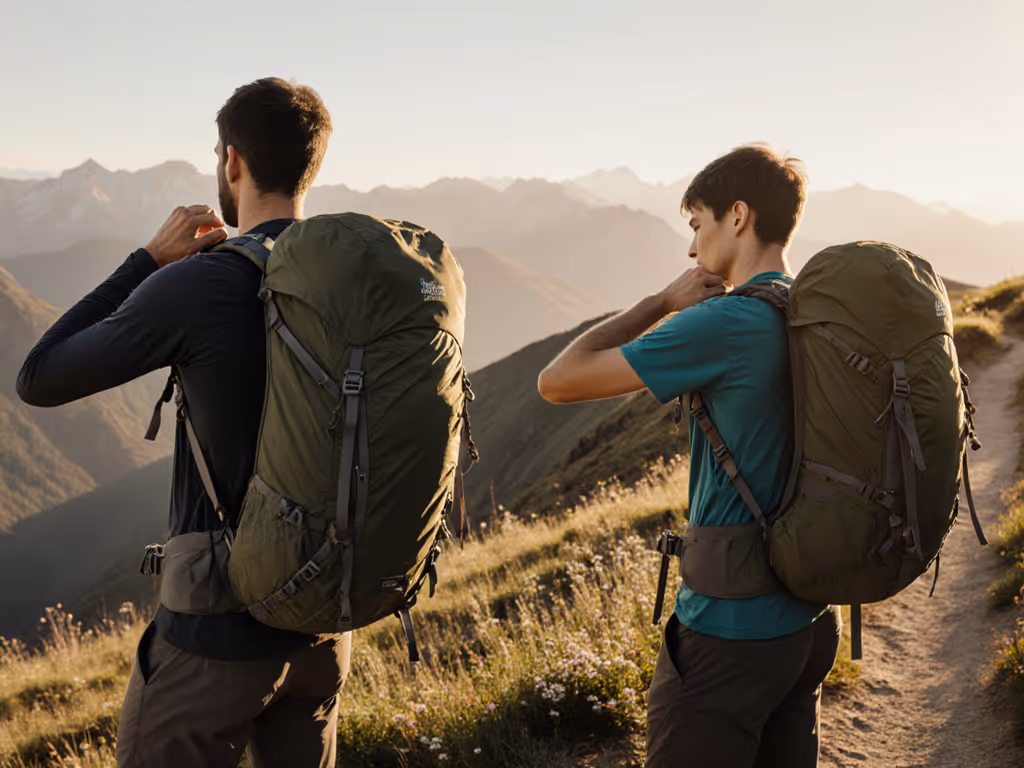
3. Shoulder Straps: Load Vector Calculus
Force angles matter. Optimize:
- Shoulder straps should hug contours with zero gap
- Load lifters at about 45 degrees (tighter for climbing, looser for descents)
- Sternum strap height adjustable for chest comfort (no breastplate pressure) If you have a smaller frame or prominent chest, our women's pack fit comparison shows which designs maintain comfort without pressure points.
Short-torso hack: Raise sternum straps 1 to 2 inches to prevent backward pull. Tall solution: Extended yoke designs keep load lifters effective without cranking straps into your neck.
4. Trail-Proof Your Fit
Fitting rooms lie. Real-world test:
- Load pack with 20-25 lb (actual trip weight)
- Walk stairs: listen for hip-belt slippage
- Lean side-to-side: check load shift
- Descend a hill: note shoulder pressure If shoulder bite increases, fine-tune your load lifter adjustment on the fly.
"At 25 lb, what fails first? The strap or your trapezius?" Record hotspots and readjust during movement.
5. Long-Haul Value Engineering
Calculate cost per comfort-hour:
- A $300 pack worn 200 days = $1.50/day
- Prioritize replaceable parts: hip belts, buckles, straps
- Resale-proofing: Proven models (like Osprey's Aether) hold 60% value after 5 years To extend lifespan and preserve resale value, follow our backpack maintenance and repair guide.
Avoid "disposable" packs. Frame integrity matters most at 30 lb loads. Look for bonded joints over stitched stress points.
6. Your Action Protocol
Tonight: Measure your torso. Tomorrow:
- Cross-reference with brand size charts (ignore S/M/L, demand inch ranges)
- Test loaded packs on inclines, not flat floors
- Stress-test zippers and stitches before buying
Final truth: Value isn't sticker price (it's years of pain-free summits per dollar). Dial the torso, and the trail opens up.
Related Articles