What Size Backpack for a 3-Day Hike? Your Capacity Guide
By Linnea Sørensen • 3rd Oct

When you're planning your first overnight trip or your tenth multi-day adventure, the question of what size backpack for a 3-day hike matters more than you might think. Choosing the right hiking pack isn't just about stuffing gear, it is about finding harmony between your body and the miles ahead. The heart of backpack capacity selection lies in understanding how your unique shape interacts with volume, weight, and terrain. Too small invites constant compromise; too large creates instability and discomfort. Let's find your sweet spot.
Why Backpack Size Matters Beyond Just Liters
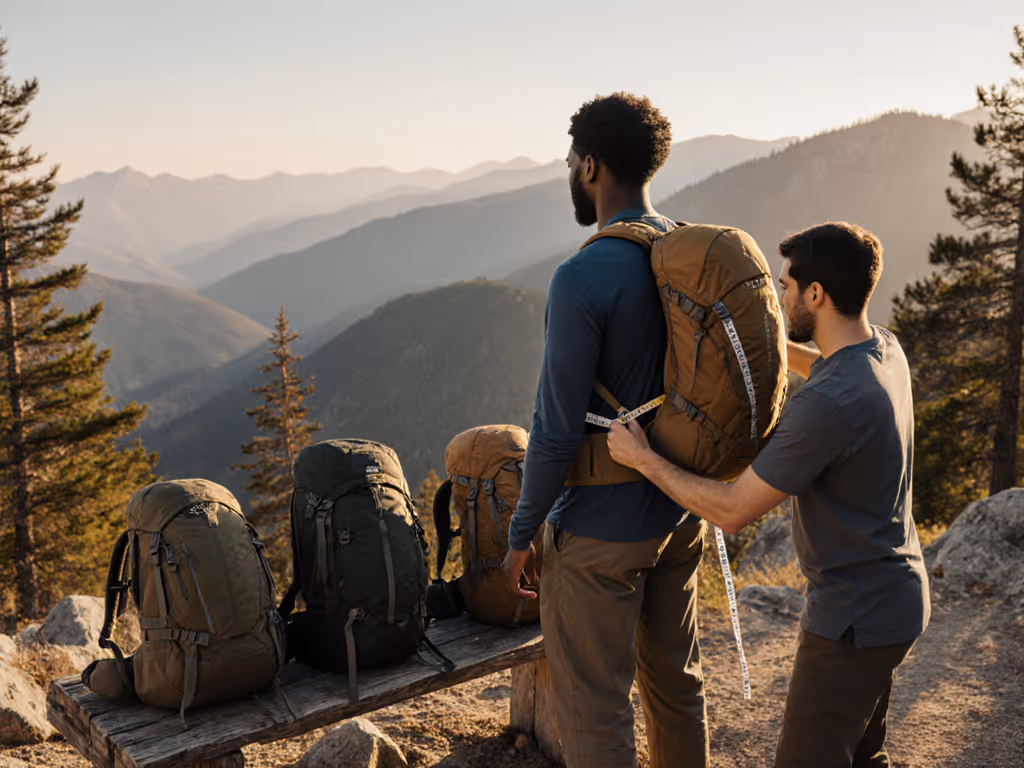
Most hikers walk into a store asking "how big is 50L backpack" without realizing that capacity alone tells only half the story. The same 55-liter pack might feel cavernous on one frame and snug on another, not because of your height but because of your torso length. During a fit session last spring, I watched a hiker squeeze into what they thought was "the right size" based on liters alone. After adjusting their torso length setting and rotating the hip belt, their shoulders finally dropped. That's when it clicked: Fit that respects your body feels like permission.
Your body doesn't just carry weight, it distributes it. A petite frame with a short torso might handle only 45 liters comfortably, while someone taller with a long torso might need 65 liters for the same gear. This is why "daypack vs multi-day pack" discussions often miss the mark, because your body dictates what "multi-day" actually means for you.
What Size Backpack for a 3-Day Hike: The Goldilocks Zone
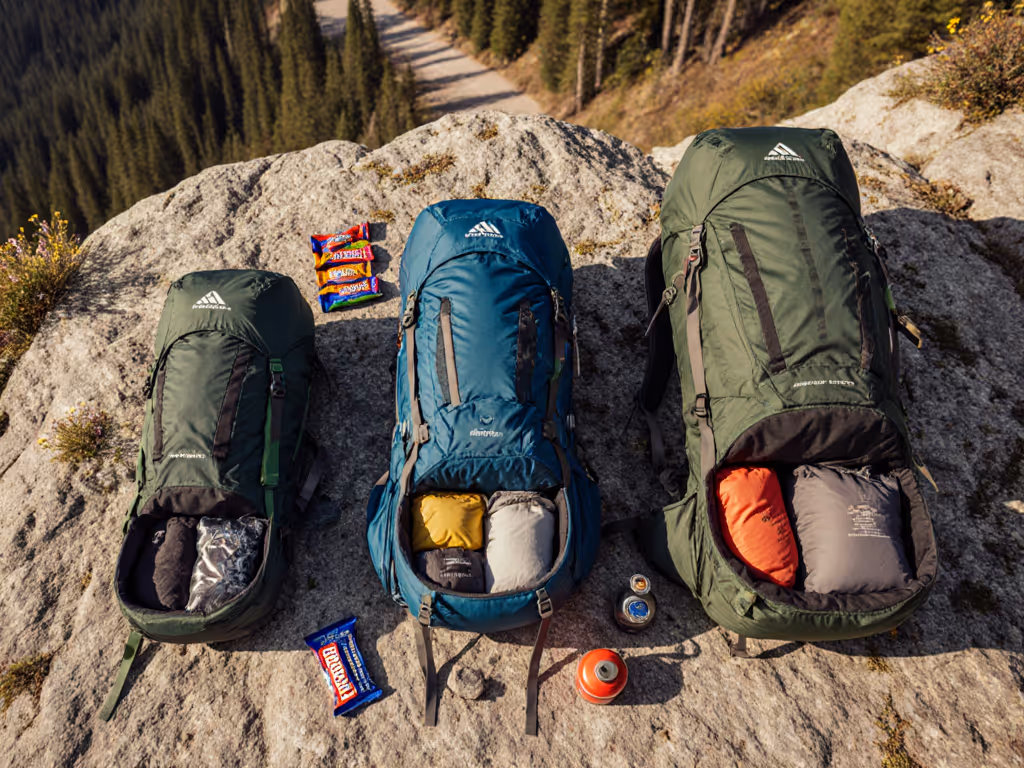
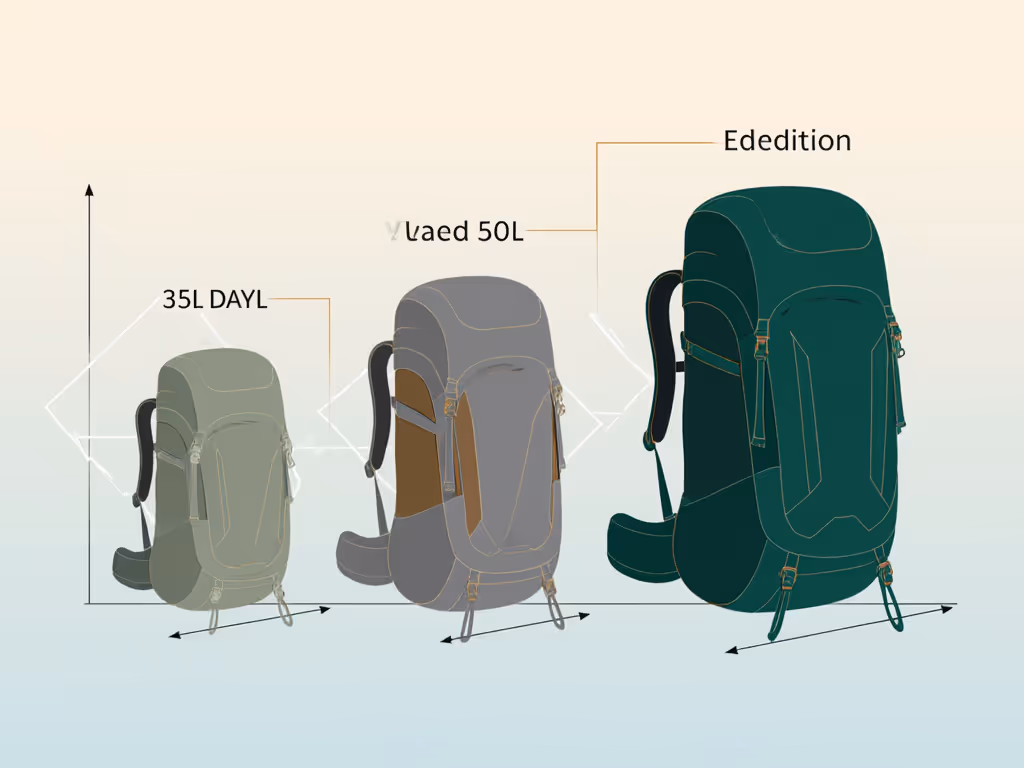
For most hikers carrying a standard backpacking setup (tent, sleeping bag, pad, food for three days, cooking system, and clothing), the ideal range is 50-70 liters. But here's what the charts won't tell you: within that range, your perfect size depends on three factors:
- Your body shape (not height)
- Your gear's bulk (modern ultralight vs traditional)
- Your packing style (organized vs stuffed)
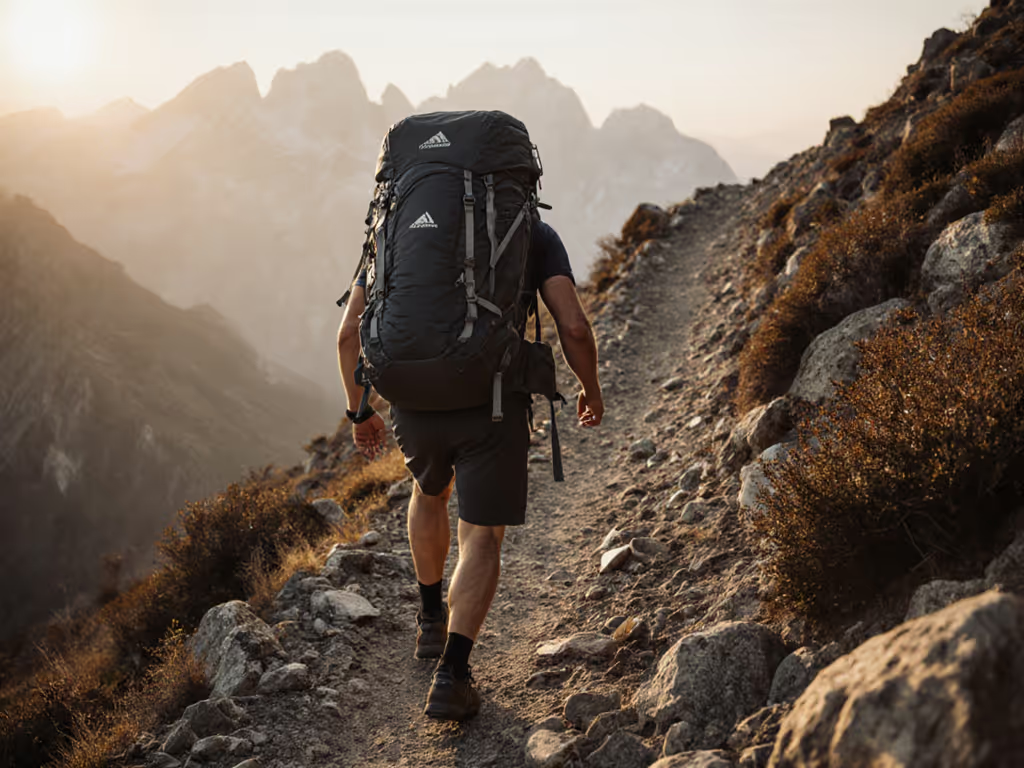
Micro-adjust, then walk. The true test of fit happens when you move, not when you stand still.
Think of backpack volume like clothing sizes: two 55L packs from different brands might fit completely differently. One might have a taller, narrower profile that works for long torsos, while another spreads wider for those with broader shoulders. The "weekend warrior" size (30-40L) from many brand charts actually falls short for most three-day trips unless you're embracing extreme minimalism.
Daypack vs Multi-Day Pack: Know the Difference
A common confusion point is mistaking a large daypack for a true multi-day pack. Here's how they differ:
- Daypacks (20-35L): Designed for carrying essentials with minimal load transfer to hips. No frame sheet or minimal structure. Shoulder straps dominate weight-bearing.
- Multi-day Packs (50-70L): Feature load-bearing hip belts, structured frames, and weight distribution systems. Designed to carry 25-35 pounds comfortably for multiple days.
If you're trying to stretch a 35L daypack for a three-day trip, you'll likely experience shoulder strain and instability on uneven terrain. That's because daypacks lack the suspension systems that transfer weight to your hips, where your body is designed to carry load.
Backpack Volume Explained: Liters vs Reality
When we say "50 liters," it refers to the main compartment volume plus lid. But here's what matters more than the number:
- Shape (tall/narrow vs short/wide)
- Compression (ability to shrink when not fully loaded)
- Hip belt pockets (external storage that doesn't count toward main volume)
A 50L pack with poor compression might feel like carrying a 65L on a trail run, while a well-designed 55L with adjustable compression can feel as secure as a 45L when lightly loaded. This is especially crucial for diverse bodies: those with shorter torsos need packs that compress vertically without riding up, while taller hikers need enough height to avoid shoulder strain.
For visual reference, a 50L backpack typically:
- Fits a standard sleeping bag vertically
- Holds 3-4 days of food in a bear canister
- Can accommodate a three-season tent strapped externally
- Leaves room for clothing layers without overstuffing
How Big Is a 50L Backpack? Beyond the Numbers
"How big is 50L backpack" is the wrong question, it is like asking how heavy 50 apples are without knowing their size. Instead, consider what 50L carries for your body:
- If you're petite (torso 15-17"), a 50L might feel roomy for three days
- If you're average height (torso 18-20"), 55-60L usually hits the mark
- If you have a long torso (21"+), 65-70L provides needed vertical space without shoulder strain
The key is matching your torso length to the pack's adjustment range, not just choosing based on trip length. Many hikers unknowingly try to "suck it up" with a slightly-too-small pack because "that's what the chart says," when a simple torso adjustment would transform their comfort.
Fit Mechanics for Diverse Bodies
This is where most sizing guides fall short, they don't address how different bodies interact with pack geometry. When we discuss backpack capacity selection, we must consider:
- Hip belt routing: Straight-waisted bodies often need belts that sit higher, while curvier hips benefit from articulated padding
- Sternum strap placement: Adjustable height prevents chest compression for larger busts
- Shoulder harness width: Petite frames need narrower spacing; broad shoulders require more room
- Load lifter angles: Short torsos benefit from upper attachment points to prevent shoulder pressure
During community fit nights, I've seen hikers write off backpacking entirely because standard "unisex" packs didn't accommodate their body. The solution isn't a different size, it is understanding how to adjust what you have or seek packs with broader adjustability ranges. Remember that hiker who whispered "I thought backpacking wasn't for my body"? We didn't change her pack, we changed how it connected with her.
Your Actionable Next Steps
- Measure your torso: Use a flexible tape measure from C7 vertebra (bump at base of neck) to iliac crest (top of hip bones). For step-by-step visuals and fit tips, see our torso length measurement guide. This is your critical number, not your height.
- Test with weight: Load a potential pack with 25-30 lbs of gear (water bottles, books, or sandbags) and walk on stairs or uneven ground. Stand in front of a mirror, your shoulders shouldn't hike up.
- Prioritize adjustability: Look for packs with 4-6" torso adjustment ranges, multiple hip belt sizes, and load lifters that attach at different heights.
- Check real-world fit: Ensure you can access hip belt pockets with the pack loaded, and reach water bottles without removing the pack.
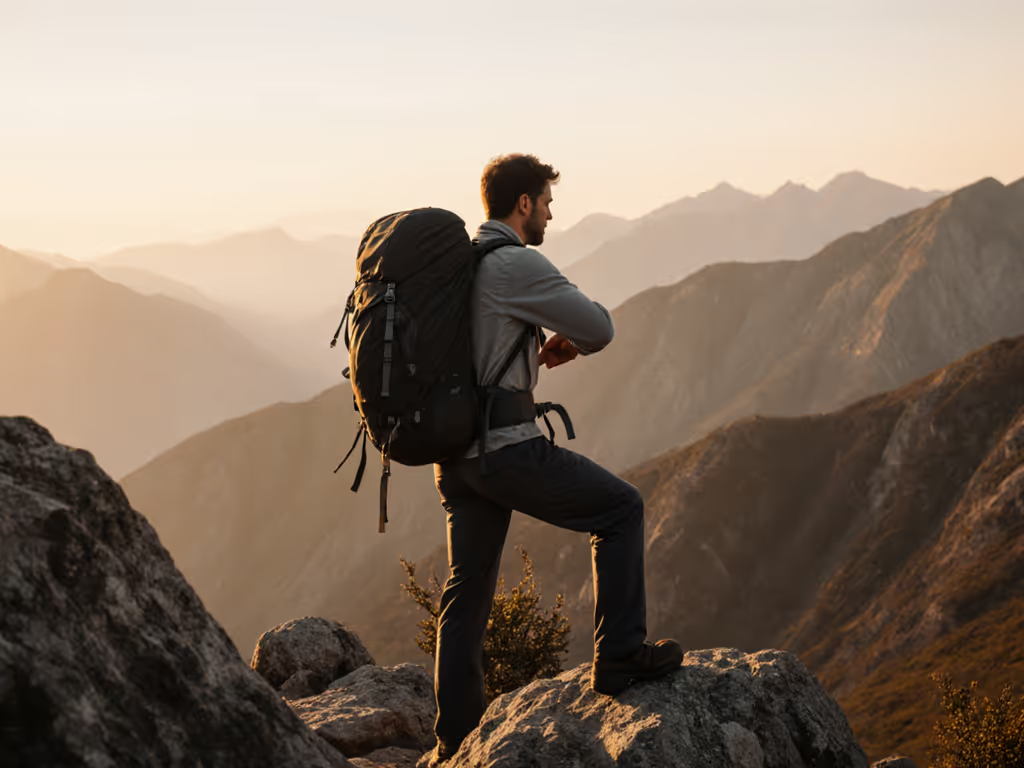
Finding your ideal backpack size isn't about conforming to a standard, it is about discovering where your body and the trail meet in harmony. The perfect pack doesn't demand you change; it moves with you, holding your world as you move through yours. When you find that match, you're not just carrying gear, you're carrying confidence mile after mile.
Micro-adjust, then walk. Your trail awaits.
Related Articles