Best Backpacks for Shoulder Pain: Tested & Ranked
By Diego Nakamura • 4th Apr
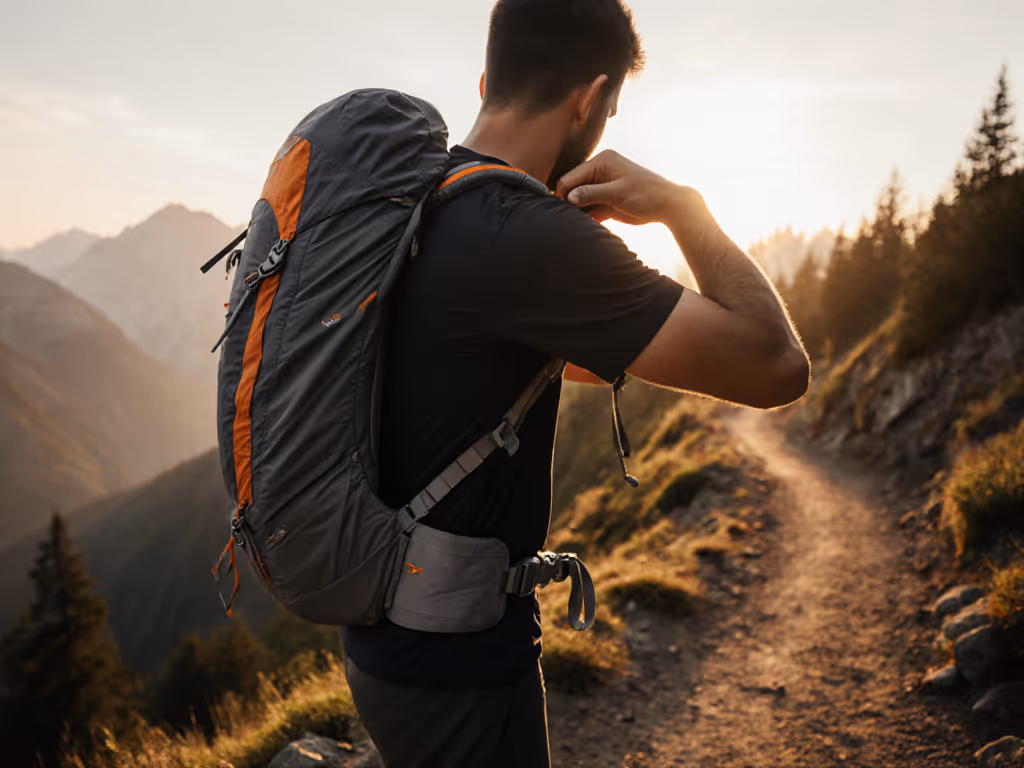
Backpacks for shoulder pain demand more than padding and marketing promises. Real shoulder relief comes down to one hard fact: weight on your hips, not your shoulders. A poorly designed pack can turn a weekend hike into weeks of regret. A well-engineered one? It disappears on your back and stays in rotation for years. That's the shoulder-friendly backpack comparison that matters.
I've watched hikers buy three mediocre packs in two years, chasing relief. Spend the time understanding suspension geometry and hip-belt design up front, and you buy once. Comfort-hours per dollar isn't a nice phrase (it's how you measure whether a pack earned its place in your life).
Why Shoulder Pain Happens (And Why It Matters)
Carrying a backpack all day isn't meant to hurt. Yet shoulder bite, neck strain, and that creeping numbness in your hands affect hikers across all experience levels. The culprit isn't always the pack itself (it's the load path).
Experts are clear: a backpack should never exceed 10-15% of your body weight. A 150-pound hiker shouldn't carry more than 22.5 pounds. Most of us exceed this without thinking. The math is unforgiving. When straps carry the load instead of your hips, shoulder muscles exhaust within hours. Rounded shoulders follow. Long-term postural damage is real.
But here's the practical truth: almost no one checks the math before buying. They grab a pack that looks comfortable, stuff it with gear, and wonder why their shoulders scream by mile three.
The solution isn't better-padded straps. It's a complete chain: frame stiffness, hip-belt geometry, shoulder-strap attachment height, and breathable back panels. Each piece is data. Each piece affects whether shoulder pain is inevitable or preventable. For a deeper breakdown of how different designs move weight off your shoulders, see our suspension systems comparison.
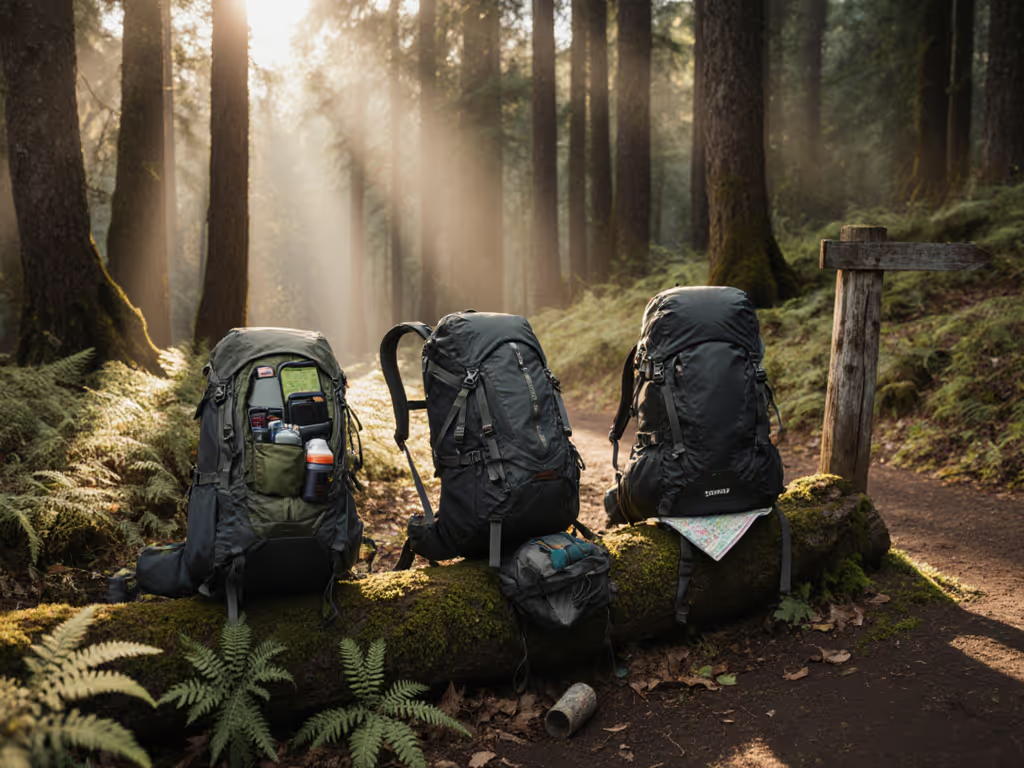
The Value Ladder: Four Tiers, Clear Tradeoffs
Packs live on a value ladder. Price and comfort aren't synonymous.
Tier 1: Budget Daypacks ($40-$80)
These are frameless or minimally framed. They work for light loads (under 10 pounds) on day hikes. Shoulder straps are often thin and padded with low-density foam. Back panels are flat plastic or basic mesh.
Why they fail at shoulder pain relief: No hip-belt structure. No load lifters. All weight hangs from your shoulders.
Lifecycle cost: You'll replace one every 12-18 months with regular use. That's two to three packs over five years. Total spend: $120-$240, plus the accumulated shoulder strain and decision fatigue.
Tier 2: Mid-Range Day Packs ($100-$160)
These introduce actual engineering: padded hip belts, adjustable load lifters, breathable mesh back panels, and multiple compartments for weight distribution. Many have sternum straps and carry 20-30 pounds reasonably well.
Examples like the Osprey Farpoint line and the Peak Design Outdoor Backpack 25L live here. These packs shift weight to your hips when fitted correctly. Shoulder straps are designed with a curve that matches shoulder anatomy. Back panels ventilate. Hip belts have real padding.
Why they work: Suspension matches load lifters that angle downward to the pack frame. This geometry redirects force from your shoulders to your torso and hips. One test: put a 25-pound load in one of these packs, tighten the hip belt until it's snug (not cutting off circulation), and loosen the shoulder straps. Your shoulders should feel almost unloaded.
Lifecycle cost: $100-$160 spent once, kept for 5-7 years with basic care. Annual cost: $15-$32. You might resell it for 30-50% of purchase price if you upgrade.
Tier 3: Serious Day and Weekend Packs ($180-$350)
These are engineered for 30-50 pounds and multi-day trips. They use aluminum or composite frames, contoured hip belts with strategic padding placement, and advanced suspension systems like Deuter's Aircomfort mesh or Osprey's harness designs.
The Deuter Futura 27, for example, uses a suspended mesh back panel that lifts the pack away from your spine. This reduces back sweat and pressure concentration. The hip belt is beefier (firmer foam in the right zones, not just thick everywhere). Load lifters are stiff enough to dial in geometry precisely.
Why they excel at shoulder pain relief: At 35-40 pounds, frame rigidity matters. A flexible frame collapses under load, making hip-belt transfer unreliable. Serious packs use 7075 T6 aluminum (aircraft-grade) with horizontal cross-stays and beefy foam pads behind shoulder blades, mid-back, and lumbar. This doesn't feel like a pillow; it feels like structure. And that structure means zero hot spots even at high loads.
Lifecycle cost: $200 invested, kept for 8-12 years. That's $17-$25 per year. These packs accept replacement parts (hip belts, straps, padding). You can extend service life indefinitely. Resale value is 40-60% of retail.
Tier 4: Technical/Ultralight Packs ($250-$500+)
Ultralight packs prioritize minimalism and material science. They carry meaningful loads at sub-3-pound base weight. But here's the rub: comfort at ultralight weight requires discipline. If you pack light (6-12 pounds consumables), ultralight packs are phenomenal. If you load them to 40 pounds, frame flex and pressure points return.
The math: Ultralight buys you marginal gains in shoulder comfort only if you're truly ultralight in practice. Most weekend hikers aren't. The price jump doesn't justify the shoulder benefit for typical use.
Key Design Elements: What Actually Reduces Shoulder Strain
Forget marketing copy. Here are the metrics that matter.
Hip Belt Design and Placement
A properly sized hip belt carries 60-80% of total load. The belt should sit on your hip bones (iliac crests), not your soft belly. Padding should be denser at contact points and slightly firmer than intuition suggests, because soft padding can distribute pressure over a wider area and sometimes increase discomfort.
Broad hip belts (3-4 inches) outperform narrow ones on heavier loads. Test: at your target load (say, 28 pounds), tighten the hip belt until it feels snug. Then loosen shoulder straps to their loosest setting. You should feel nearly zero shoulder weight.
Load Lifters and Their Angle
Load lifters are those straps connecting your main shoulder harness to the pack. They must angle downward and slightly backward (typically 30-45 degrees) to effectively transfer load. If they're nearly horizontal, they're decorative.
Adjustable load lifters let you dial in the angle for your torso length. Short torsos and tall torsos have different optimal angles. This is why sizing matters (an off-the-shelf medium doesn't work for everyone).
Back Panel and Ventilation
Ventilation reduces back sweat, which improves pressure distribution perception (even if total force is unchanged). Mesh-covered foam with a suspended air channel beats solid plastic. Osprey's mesh designs and Deuter's Aircomfort panels prove this: testers report no soreness even on humid days.
A firm back panel also matters. It should feel supportive, not mushy. This gives load structure and prevents the pack from collapsing against your spine on steep descents. For hot, humid hikes, our backpack ventilation guide explains which systems actually keep sweat at bay.
Shoulder Strap Curve and Padding
Straight shoulder straps dig into your clavicle over time. Curved straps that follow shoulder anatomy distribute pressure better. Padding should be dense enough to resist bottom-out (where you feel the frame through the foam) but not so thick that it creates its own pressure point.
The attachment point height is critical: straps should attach 1-2 inches above your shoulder point. This angle helps direct force downward and backward into the hip belt rather than hanging vertically.
Tested Comparisons: Load and Use Case
For Day Hikes (10-20 lb Loads)
Peak Design Outdoor Backpack 25L stands out. Its vest-style shoulder straps spread weight across chest and shoulders like a running harness. This eliminates pressure points that cause numbness after hours. At $150-$200, it's mid-tier pricing. Resale value stays strong. The trade: it maxes out around 18-20 pounds; higher loads show flex.
Verdict: Best value for lighter loads and body-diverse hikers seeking non-traditional geometry.
For Weekend Trips (25-35 lb Loads)
Osprey Farpoint 55 and the Osprey Aether 65 handle this range with proven hip-belt transfer. The Aether's back panel and shoulder straps remain comfortable even at 50-pound test loads. Both have modular hip belts (available in XS to XL) and adjustable torso lengths.
Deuter Futura 27 competes directly. Its Aircomfort mesh actively cools your back, and the suspended panel shifts weight into frame and hip belt, easing shoulder bite. It's lighter (under 4 pounds) than the Osprey, which appeals to weight-conscious hikers, but it's slightly narrower, favoring straight to moderate torso shapes.
Verdict: Osprey for broad fit range and resale. Deuter for ventilation and weight savings. Both hold value over 5+ years.
For Challenging Terrain (35+ lb Loads)
Osprey Aether 65 and Gregory Baltoro 65 lead here. At 40+ pounds on scrambles or side-hills, frame stiffness and hip-belt beefiness prevent load shift and shoulder creep. Both packs use aluminum frames and broad, firmer hip belts. Shoulder strap attachment points are precisely calculated for load transfer efficiency.
Verdict: Premium tier, but the shoulder comfort gains at heavy loads are measurable and justify the cost for serious hikers.
For Rotator Cuff or Chronic Shoulder Issues
If you have pre-existing shoulder dysfunction, load transfer must exceed 70%. This rules out frameless and minimalist packs entirely.
Instead, pair a framed pack with a low base weight (under 5 pounds). The Kumo 36 (mentioned in testing) weighs 2 lbs 10 oz and uses aircraft-grade aluminum. With a 6-pound base weight and 12-pound consumables, total load is 20 pounds (easily within the 10-15% rule for most adults). The frame geometry and hip belt take all the work.
Alternatively, lumbar packs (waist packs with a frame) eliminate shoulder load entirely if your pack weight is truly minimal (under 15 pounds total).
Verdict: Lighten first, frame second. Hip-belt geometry third.
Decision Framework: Picking Your Pack
Ask yourself three questions:
- What's your typical trip load? Day hikes (under 15 lb), weekend backpacking (25-35 lb), or longer trips (35+ lb)? Match the pack's rated comfort range to this, not your maximum possible load.
- What's your torso length and hip-belt size? Measure torso from the base of your neck to the top of your hip bone. Use our step-by-step torso length measurement guide to get an accurate fit before you buy. Most torsos are 16-23 inches. Hip belts come in XS (28-32"), S (32-36"), M (36-42"), L (42-48"), and XL (48"+). Proper fit is non-negotiable. In-store try-ons with actual trail weight beat online reviews.
- What's your friction tolerance for returns? If you'll accept one 2-week return cycle, buy from retailers with free returns (most major brands do this). If you hate hassle, spend 30 minutes in a shop fitting packs properly before ordering online.
The Lifetime Value Play
Most shoulder pain comes from poor pack fit, not bad packs. A $120 pack that doesn't fit will hurt. A $280 pack that fits will feel light at 30 pounds.
Focus on suspension engineering, not brand name. Test at realistic load. Check hip-belt and torso sizing carefully. Plan to keep the pack 5-7 years minimum. Shoulder comfort, and joint health, shows up in calendars: which trails you hike, how many weekends you stay out, whether you avoid certain trips because you dread the pain.
Value on the value ladder isn't about price. It's about comfort-hours per dollar over years of use. A $200 pack kept for seven years, maintained well, and resold for $100 nets you $100 invested (far cheaper than buying three $120 packs that never quite fit).
Next Steps
- Measure your torso and hip-belt size using a soft tape measure. Don't estimate.
- Visit a local outdoor retailer with a scale and borrow 20-25 pounds of dead weight (bags of sand or water bottles work). Try packs in your size range at realistic load.
- Focus on hip-belt feel first. If the belt digs, pinches, or slides, it won't work. Shoulder comfort follows from hip geometry. Then dial your packing with our pain-free weight distribution guide to keep shoulder load near zero on trail.
- Note which packs keep your shoulders relaxed at your target weight. Compare those 2-3 candidates on resale value, warranty, and parts availability.
- Commit to one pack and give it two real trips before deciding. The first trip teaches you how to load and adjust. The second trip is your true comfort test.
Shoulder pain isn't inevitable on the trail. The right pack, properly fitted and loaded, makes it irrelevant. That clarity, knowing you won't hurt, changes how freely you move through the mountains.