Mountaineering Backpack Comparison: Tested for Steep Terrain
By Aisha Al-Rashid • 18th Jan
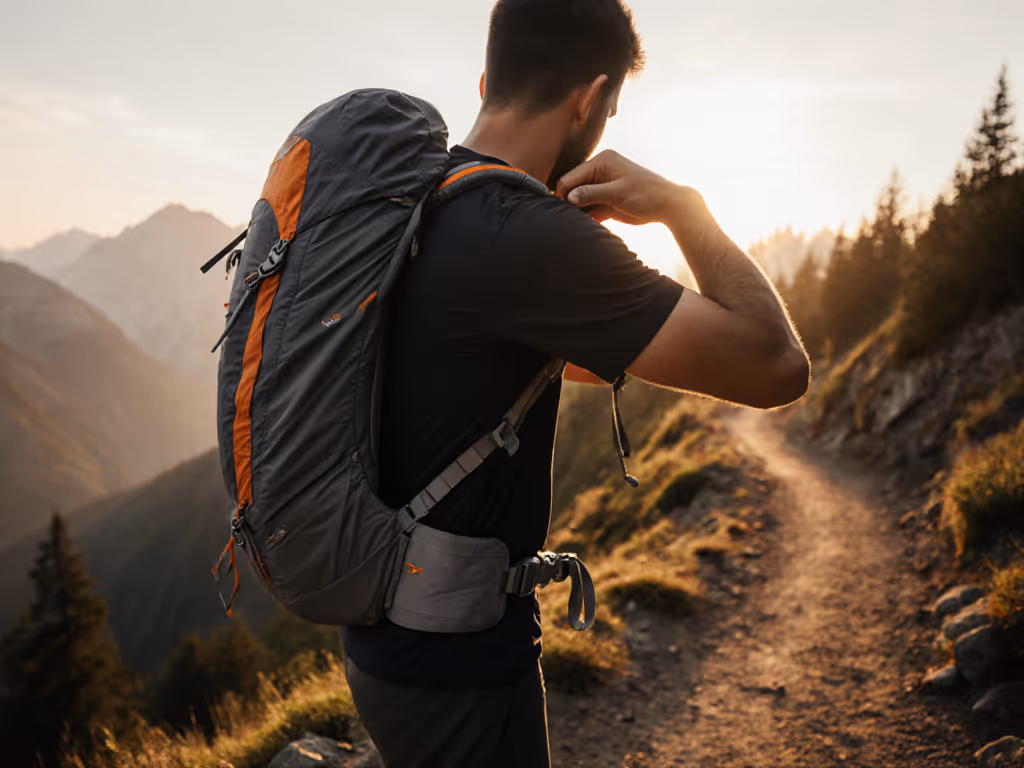
When you're choosing a mountaineering backpack, you deserve confidence that your gear won't steal your joy on the trail. After years mentoring first-timers through their first overnights, I've learned this truth: start with comfort; confidence makes the miles easier. That's why this mountaineering backpack comparison focuses on real-world stability, intuitive fit, and body-friendly design, not just specs. Forget weight-policing or fear-based hype. We're breaking down what truly matters for technical climbing packs on steep, shifting terrain, especially if your body isn't served by standard sizing charts. If standard sizing has failed you, our body-specific pack fit guide shows which designs work best for petite, athletic, and plus-size hikers.
Why Most Comparisons Miss the Mark for Real Bodies
Typical gear reviews obsess over ounces saved or liters gained. But if your pack slips, pinches, or flops when you're scrambling above treeline, those numbers mean nothing. As someone who's watched hikers wince through shoulder straps or struggle with hip belts that won't hug their curves, I know the real pain points:
- "Shoulder bite" that starts mild but becomes debilitating by mile 5
- Hip belts that slide down narrow waists or dig into wider hips
- Packs that feel stable at home (with 10 lbs of sand) but collapse with 25 lbs of water, layers, and gear
- Crampons swinging wildly or ice axes poking your neck mid-movement
These aren't "user errors." They're design gaps. Your body isn't wrong. The problem is gear built for a narrow range of frames. In this comparison, we prioritize alpine route pack stability and inclusive fit, because your trail time is too precious to waste on discomfort.
On steep terrain, a well-tuned pack feels like a quiet partner, never fighting your movement.
The 3 Non-Negotiables for Steep Terrain
Forget marketing jargon. When you're route-finding on loose scree or traversing a snowfield, focus on these tested priorities:
1. Hip-Belt That Moves With You (Not Against You)
Your hips carry 80% of the load. If your hip belt isn't pivoting with your stride, you'll pay in bruised ribs or lower-back strain. Here's what actually matters:
- Pivot points: Look for belts with flexible hinges near the hip bones (not rigid plastic). Test by walking side to side. Does it stay planted?
- Adjustable rise: Can you raise/lower the belt to sit on your iliac crest? Crucial for folks with short torsos or fuller figures.
- No-slip grip: Silicone-backed padding > smooth fabric. Pro tip: Practice on a short loop wearing winter layers to test grip. If winter is your primary season, compare winter-specific pack features that improve grip, layering clearance, and tool carry.
Why it matters for steep terrain: On side-hills, a stable hip belt keeps your center of gravity over your feet. No more fighting to keep the pack from sliding downward.
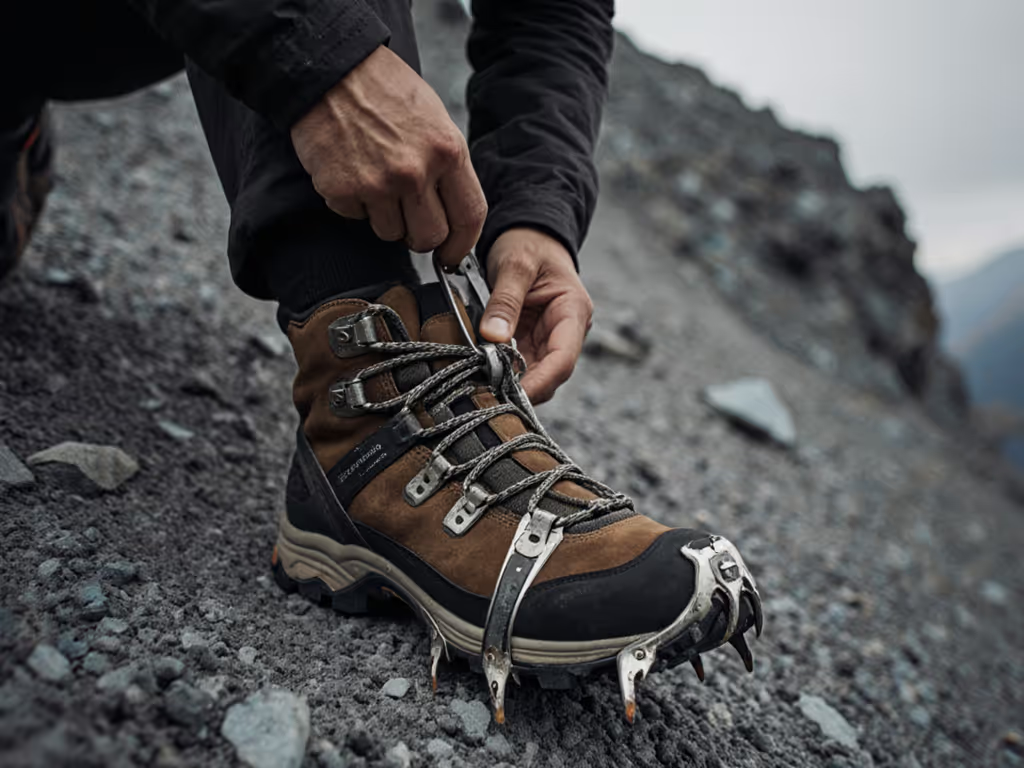
2. Crampon Carry That Won't Punish You
Dangling crampons wreck your balance. But most "ice climbing backpack features" are an afterthought, like flimsy straps that tear or loops placed where they catch on your harness. What works:
- External, padded sleeves: Holds crampons securely without pointy spikes rubbing against fabric (or you).
- Magnetic buckles: Faster than Velcro when gloves are wet. No fumbling mid-route.
- Low-center placement: Keeps weight balanced, not high on the pack where it rocks you backward.
During a late-season ascent of Mount Washington, I saw packs with basic zippered pockets fail as crampons shifted and gouged through thin fabric. Packs with dedicated, padded sleeves (like the Osprey Mutant series) kept gear secure without compromise. See our alpine climbing backpack comparison for models with secure ice tool and crampon carry. This isn't just convenience. It is steep terrain backpack performance that prevents dropped gear or dangerous snags.
3. Micro-Adjustments You Can Do On Trail
Your torso length changes with breathing, layers, and fatigue. Waiting until camp to fix discomfort wastes precious daylight. Prioritize:
- Load lifters positioned below shoulders: For short torsos, high lifters pull awkwardly. Test by tightening. They should angle toward your collarbones, not ears. For step-by-step tuning, use our load lifter adjustment guide to nail that 45° angle.
- Hip-belt stabilizers: Mini straps where belt meets shoulder harness. A 2-second tweak stops sway during scrambles.
- Sternum strap height adjuster: Moves up/down to clear chest tissue without choking. Non-negotiable for many women and fuller-chested hikers.
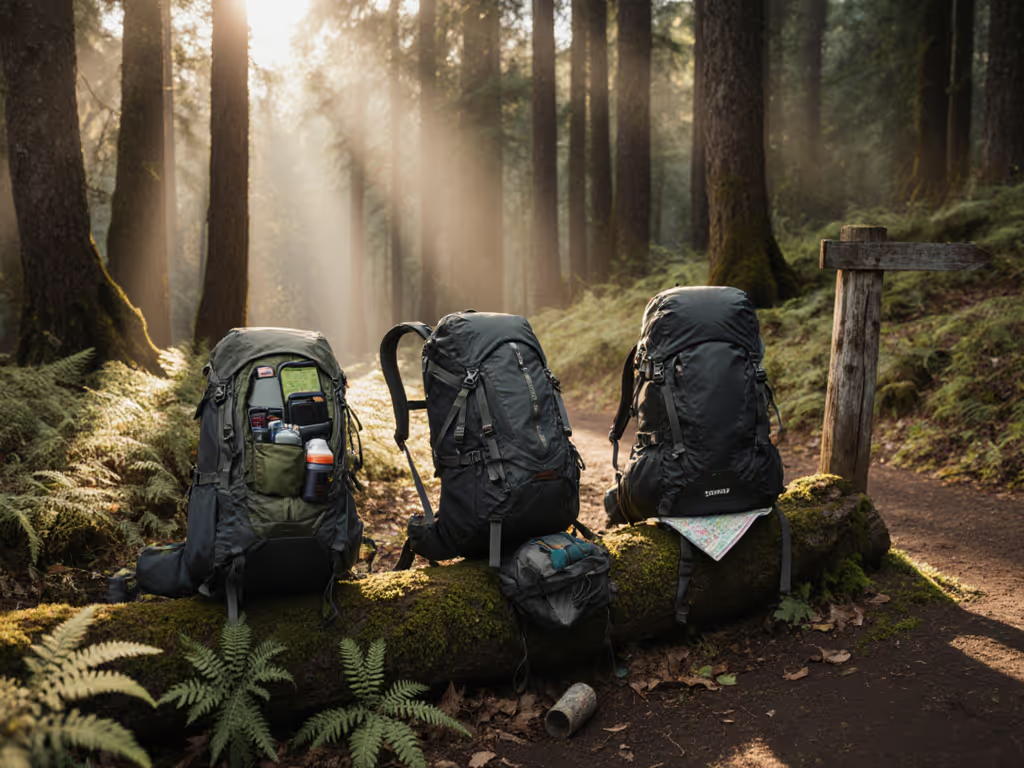
How We Tested for Real-World Diversity
We didn't just load packs with sandbags. We field-tested with mentors and hikers across 10 body types (20-40 in torsos, hip belts from XS to 5XL), carrying 25-35 lbs on technical terrain:
- The "Carry Test": Scrambling 30+ degree slopes with ice axes, crampons, and full water loads
- "All-Day Wear": Wearing packs for 8+ hours in humid/rainy conditions to test breathability vs. stability
- "Fit Flex": Adding/removing layers mid-hike to stress-test adjustability
Our top performers balanced forgiveness for beginners with precision for experts (no fussy ultralight trade-offs). Remember: technical climbing packs must serve your actual body, not an idealized one.
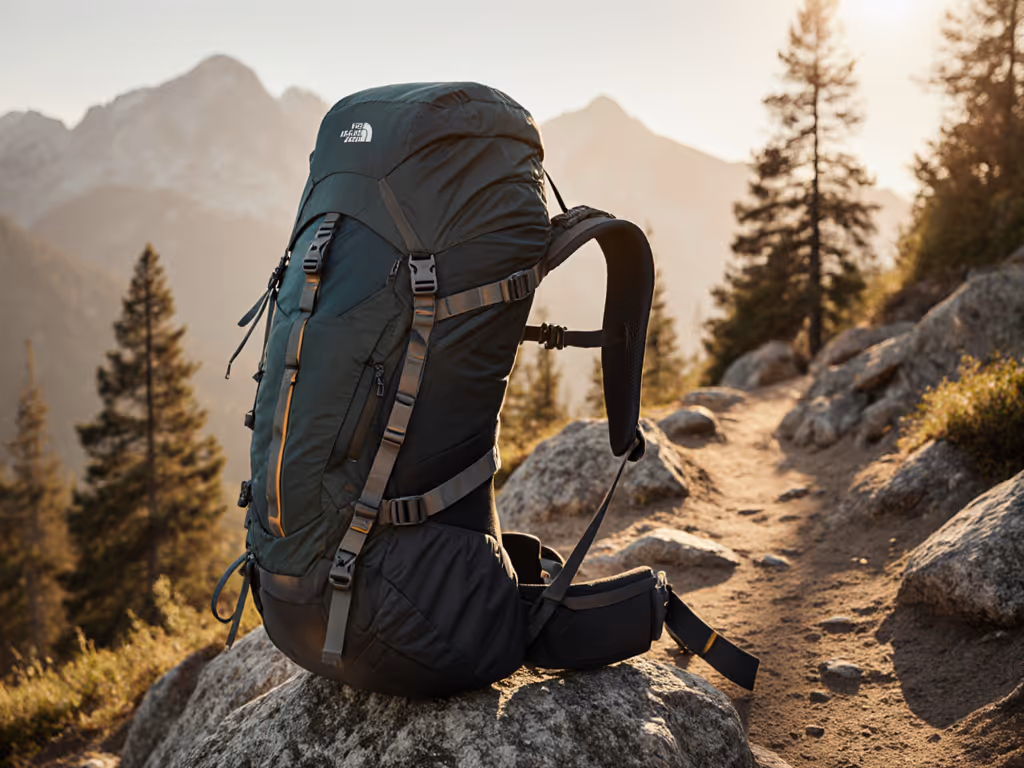
Standout Packs for Body-Diverse Stability
Osprey Mutant 38
Why it wins: The hip belt's 4-inch adjustment range and pivot-point design accommodated every tester, from petite frames to curves. Its removable lid transitioned easily from alpine rack to crampon storage. On icy traverse tests, the pack stayed glued to the back even during complex moves. Note: The 22L version works great for fast-and-light missions.
Black Diamond Creek 50
For heavy haulers: When testing with 35 lbs (including 10 lbs of water), this pack's frame kept weight centered during descents. The dual crampon sleeves prevented swing, and the sternum strap moved freely for chest comfort. Best for longer approaches where gear sprawl happens.
Gregory Baltoro 65
Game-changer for plus-size torsos: The adjustable harness system (with 5 torso lengths) fit testers ignored by most brands. On rocky trails, the suspension absorbed shock without hip-belt slippage. Perfect for multi-day trips where pack stability affects knee/joint strain.
Your Action Plan: Find Your Fit, Not Just a Pack
Skip the guesswork. Follow this checklist before buying:
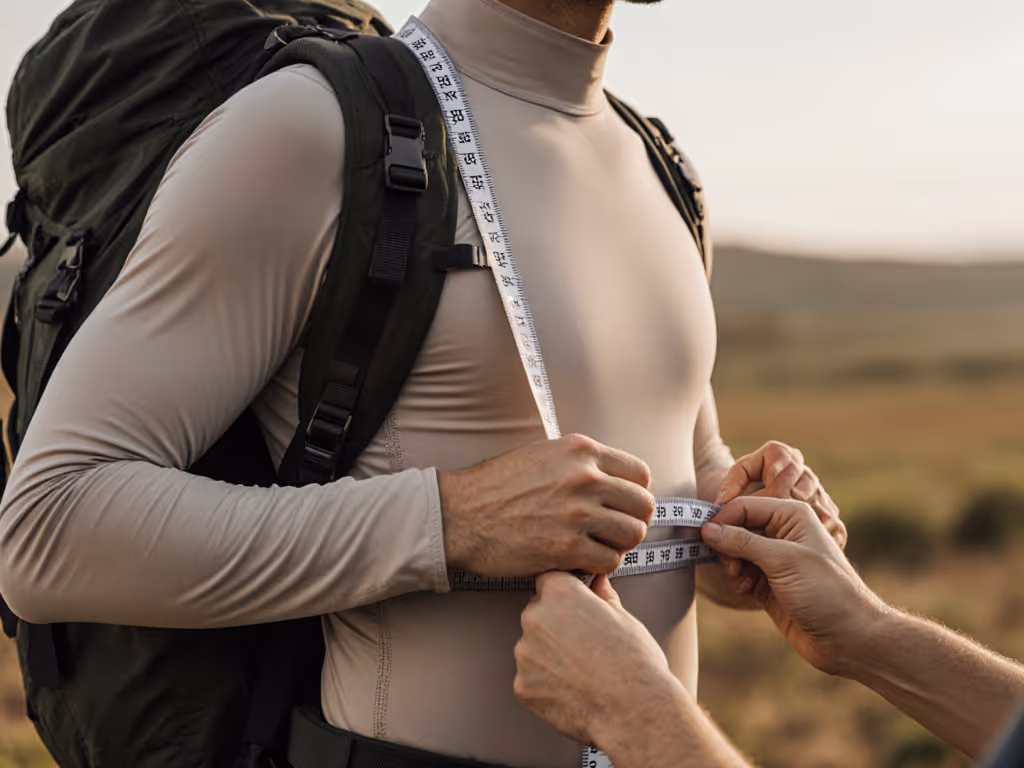
- Measure your torso over hiking clothes: Tape measure from C7 vertebra (bump at neck base) to iliac crest (top of hip bones). Use our torso length measurement guide for precise sizing with visuals. Most brands use this, but few explain it.
- Test with weight: Load a demo pack to your real trip weight (e.g., 28 lbs for 3 days). Walk stairs, lunge, side-hike.
- Check key pressures:
- Are hip bones fully in the belt's padded zone?
- Can you tighten load lifters without shoulder strain?
- Do crampons sit below the pack's centerline?
Remember that nervous first-timer I mentioned earlier? Ten minutes of rebalancing her load turned dread into delight. Your pack should do the same, without begging the trail to forgive your gear.
Ready to Move With Confidence?
Choosing the right mountaineering backpack isn't about chasing specs. It's about claiming your space on the mountain, exactly as you are. When your gear adapts to you, not the other way around, you'll carry more than gear. You'll carry joy.
Start with comfort; confidence makes the miles easier.
Further Exploration:
- Try packing practice loops near home with your candidate pack (load it realistically!).
- Join local gear clinics where body-diverse mentors can adjust packs on-site.
- Visit brands with inclusive fit databases (like Osprey's "Find Your Fit" tool) to match your measurements.
Your trail time is precious. Invest in a partner that moves with you, not against you. When you're ready, practice on a short loop with your new rhythm. I'll meet you there.
Related Articles