Heavy Load Backpacking: Comfort Techniques for 40+ lb Trekking
By Linnea Sørensen • 12th Jan
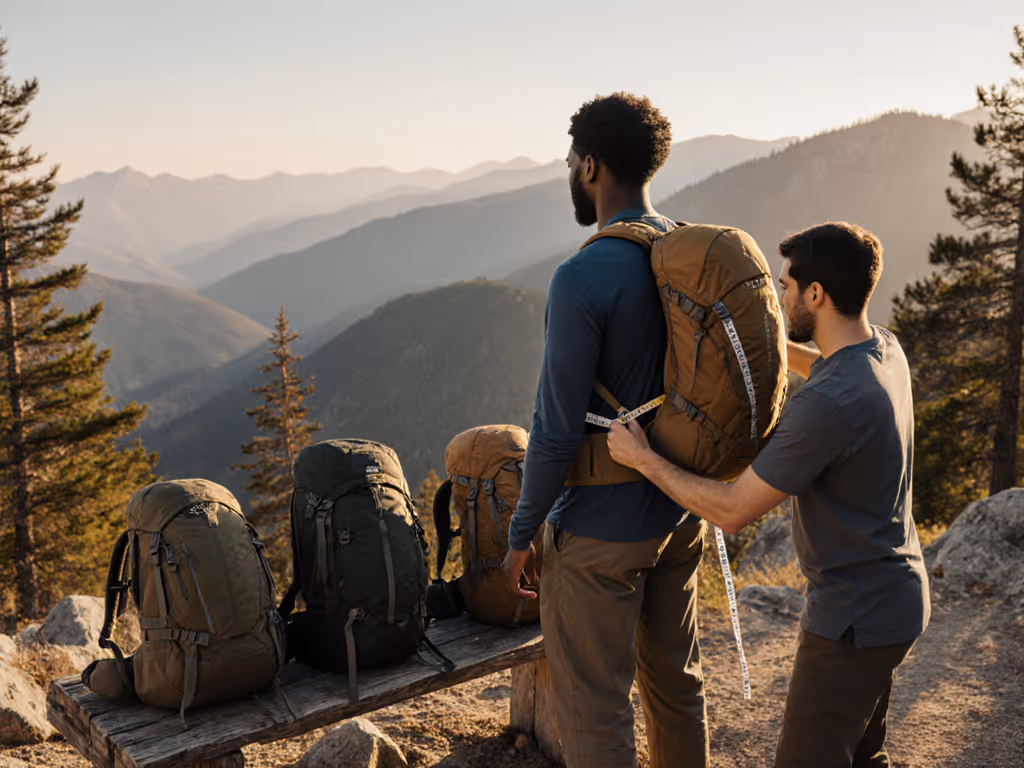
Let's reframe this: heavy load backpacking techniques aren't about enduring pain, they are about unlocking deep connection with the trail. When your backpacking becomes easier at 40+ pounds, you're not just carrying gear. You're carrying confidence, presence, and the freedom to notice wildflowers on switchbacks. I've watched hundreds of hikers discover this transformation at community fit nights. One whispered, "I thought backpacking wasn't for my body," until we shifted her hip belt rotation and rerouted load lifters. Her posture didn't just improve (it softened). That's when I knew: fit isn't vanity. It is respect.
Your Top Questions, Answered Simply
Why does my pack feel stable at 20 lbs but painful at 40+ lbs?
Packs aren't broken, they are often mismatched to your biomechanics under load. Heavy gear weight distribution hinges on three silent partners:
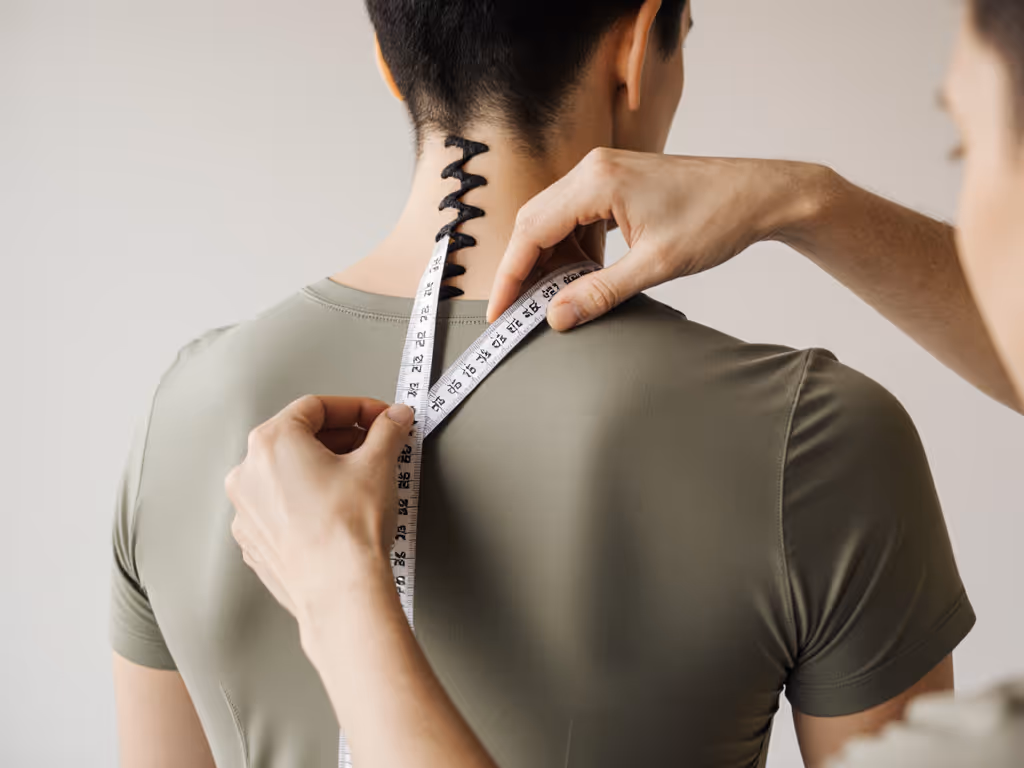
- Your torso length (not height!) measured from C7 vertebra to iliac crest
- Hip belt alignment, sitting on hip bones, not floating above or below them
- Load lifter angle, pulling weight inward toward your spine, not straight down
When torso length is off, the shoulder harness fights gravity instead of cooperating with it. Heavy loads magnify tiny misalignments. A properly positioned hip belt carries 80-90% of the weight, if it's seated where your skeleton anchors. At a recent workshop, a hiker with a 14" torso (often labeled "XS") carried 42 lbs comfortably because her belt hugged her ASIS bones, not her waist.
Micro-adjust torso length after loading your pack. Your spine compresses slightly under weight, what felt right empty may pinch when loaded.
How do I distribute weight for 40+ lb loads without shoulder strain?
For 40+ lb load strategies, forget "top-heavy vs. bottom-heavy" debates. Aim for dynamic balance: For a deeper breakdown of where each item should go, see our pack weight distribution guide.
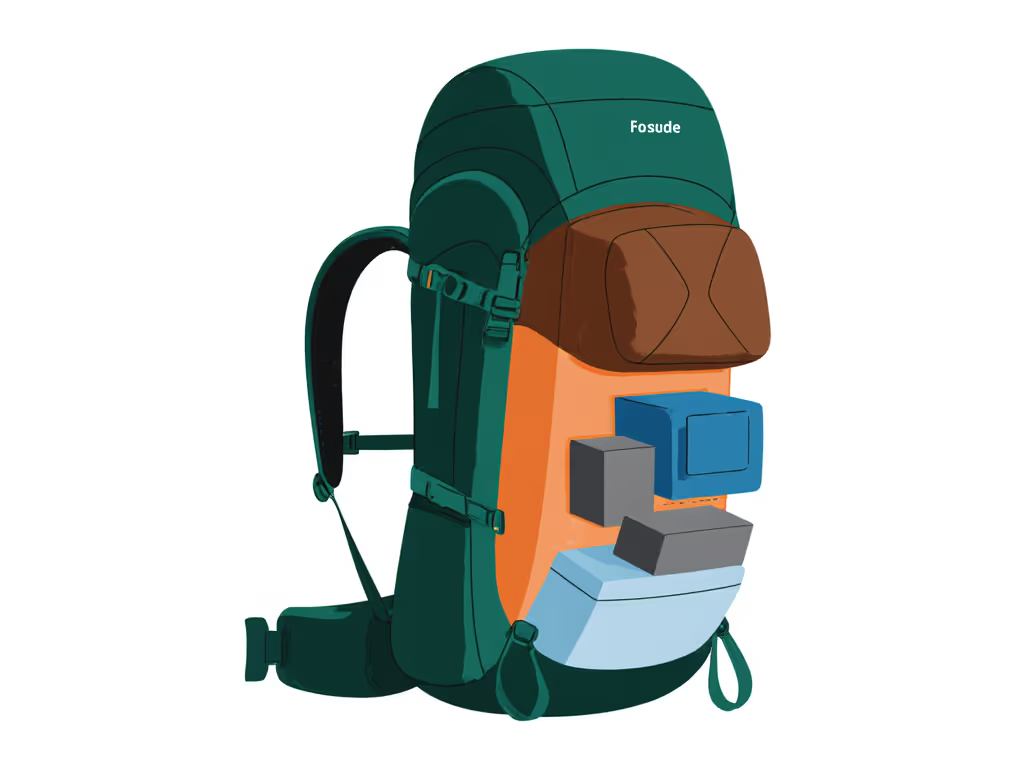
- Core zone (shoulder blades to hips): 60-70% of weight here. Use compression straps to bind items into the frame, not against it.
- Above shoulder height: Only essentials (rain shell, puffy). Keep under 10% of total weight.
- Below hip belt: Never let heavy items dangle. A water reservoir too low tilts you forward, like leaning into a strong wind.
A photographer recently joined my group carrying 48 lbs of camera gear. We packed his lenses vertically between sleep system and clothes, creating a stable "book spine" against his back. Result? No shoulder drag on a 7-mile descent. Backpacking posture for heavy loads isn't rigid; it's like sailing, your body leans with the mast (your spine), not against it.
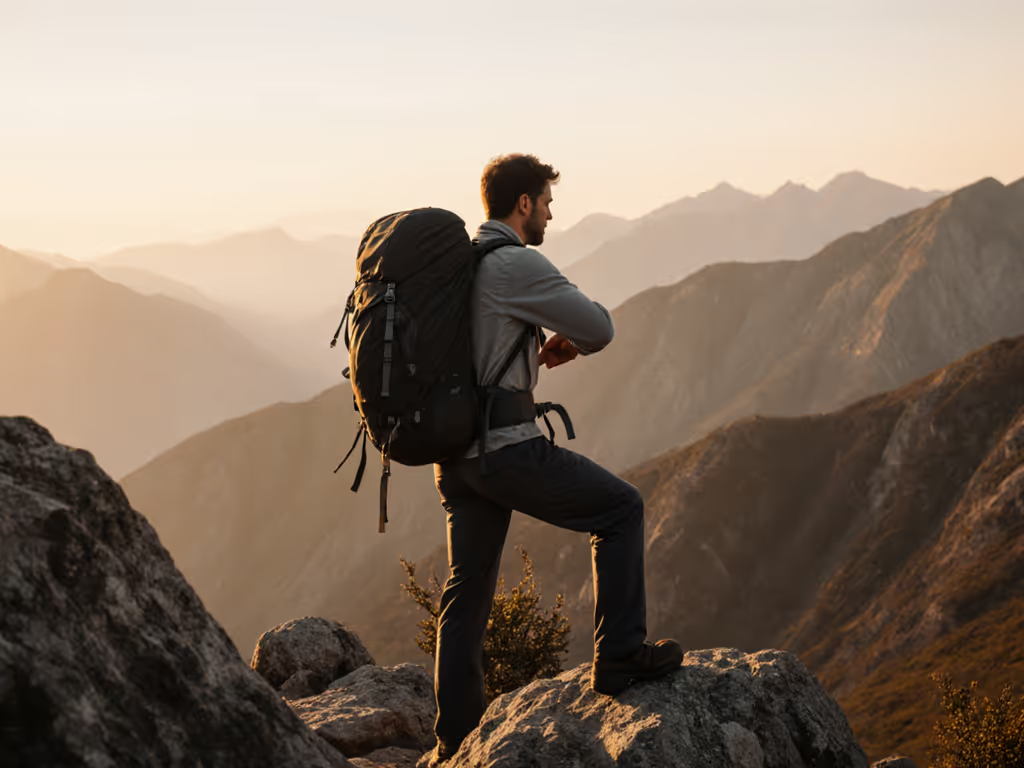
What subtle adjustments prevent fatigue on long days?
Real heavy load backpacking techniques happen in motion. Try this on-trail sequence:
- Pause on flat terrain: Loosen shoulder straps slightly. Feel weight shift to hips.
- Tighten load lifters: Pull straps upward and inward toward your sternum (not horizontally). This swings the pack's center of gravity closer to your spine.
- Micro-adjust, then walk: Take 10 steps. Notice if your head feels lighter or shoulders release.
- Repeat every 30 mins: Muscles fatigue; re-balance the load as you go.
Why this works: Loose shoulders + tight load lifters create a "suspension bridge" effect, weight transfers through the frame, not onto your shoulders. At 5,000 feet elevation, I saw a hiker's tension melt away doing this mid-ascent. She'd been unknowingly carrying 15 lbs extra on her trapezius all morning.
How can I pack for extended trips without floppy, shifting loads?
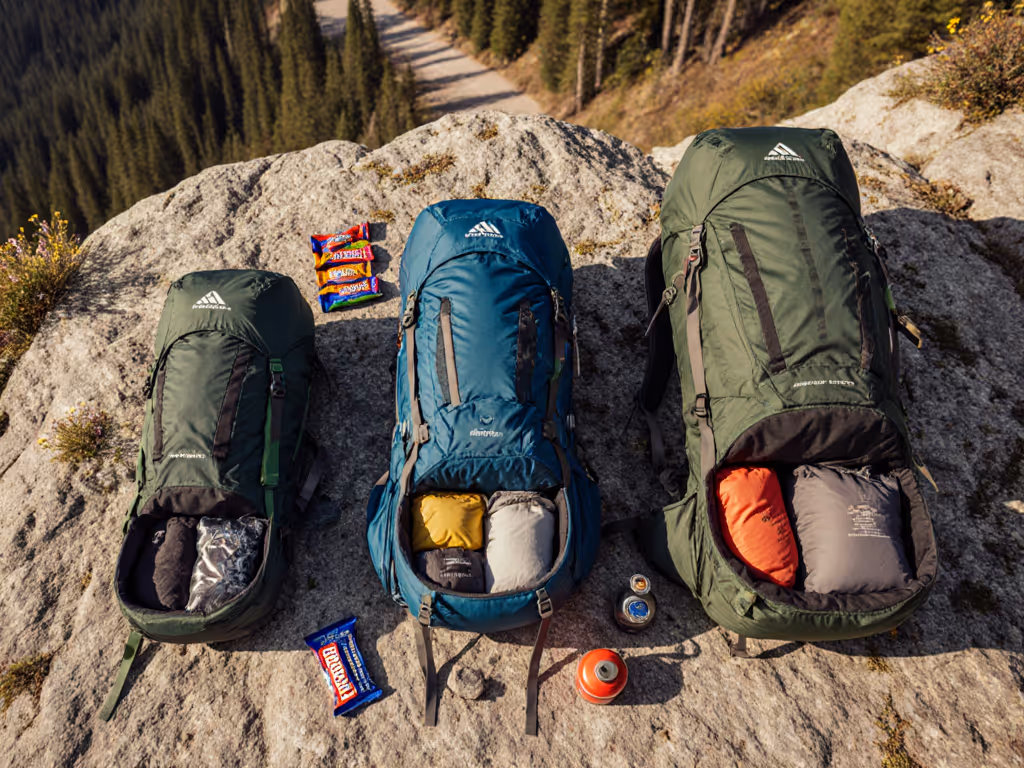
Stability beats minimalism for heavy loads. Two pro-tested methods:
- The "Sandwich": Heavy items (food, water) between medium-weight layers (sleep system, clothing). Example: Pot + fuel between sleeping pad and down bag. Reduces interior shifting.
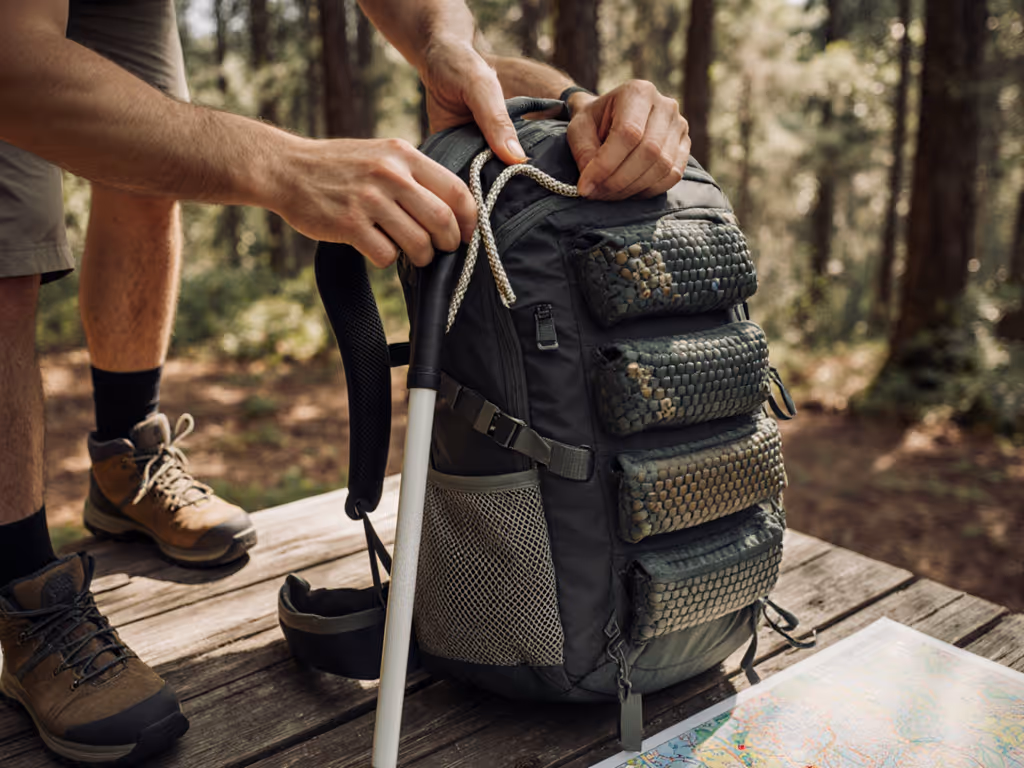
- External lash points: Use daisy chains for rigid items (tent poles vertically along frame stays). Never strap soft, bulky items externally, they turn into pendulum weights.
Critical tip: Pack your bear canister vertically in the main compartment. To choose a pack that secures a BV500 or Garcia without sway, use our bear canister compatibility guide. A horizontal one slides side-to-side, forcing you to compensate with your hips. One thru-hiker cut her lower-back strain by 60% just by repositioning hers.
Does frame type matter for heavy loads?
Yes, but not how you think. Internal frames must have sufficient tension to transmit weight to your hips. If you're deciding between frame types for heavy loads, start with our internal vs external frame guide. Here's how to test:
- Load your pack to trip weight
- Hold it vertically by the shoulder straps
- Press firmly on the hip belt
If the frame buckles inward, it's too flexible for your load. If it stays rigid, it's transferring force correctly. (A recent industry report confirms most packs rated for "35+ lbs" actually fail this test at 40 lbs with petite torsos.) Seek adjustable frames with tension dials, not just "S/M/L" sizing.
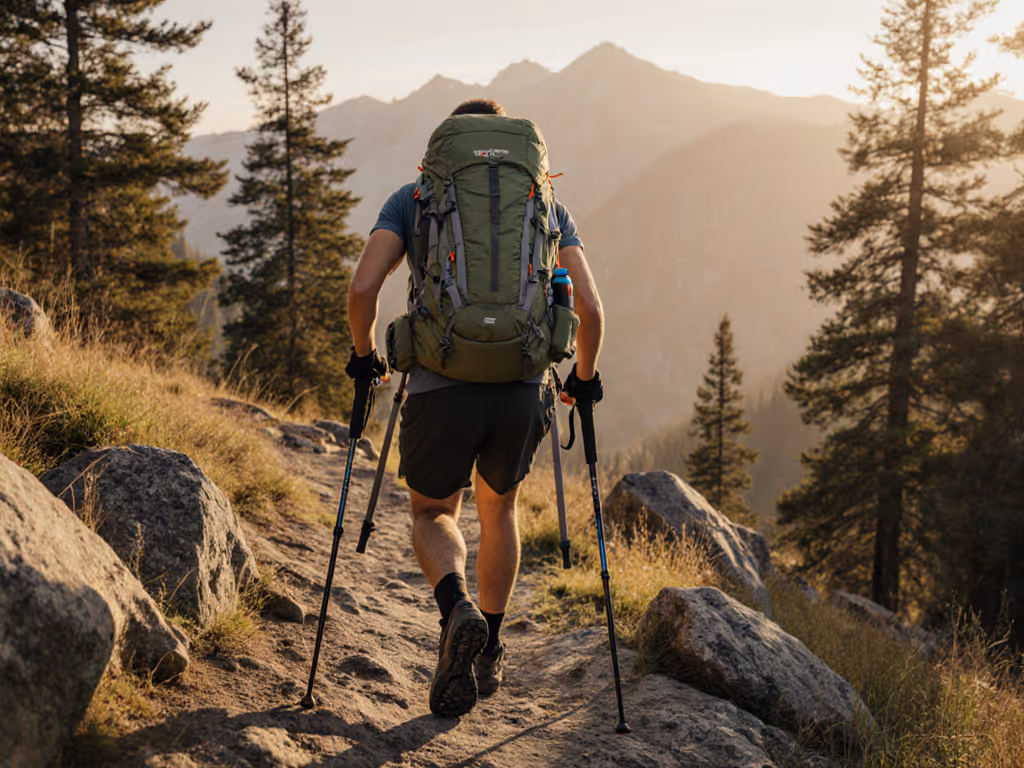
Can backpacking posture for heavy loads change mid-hike?
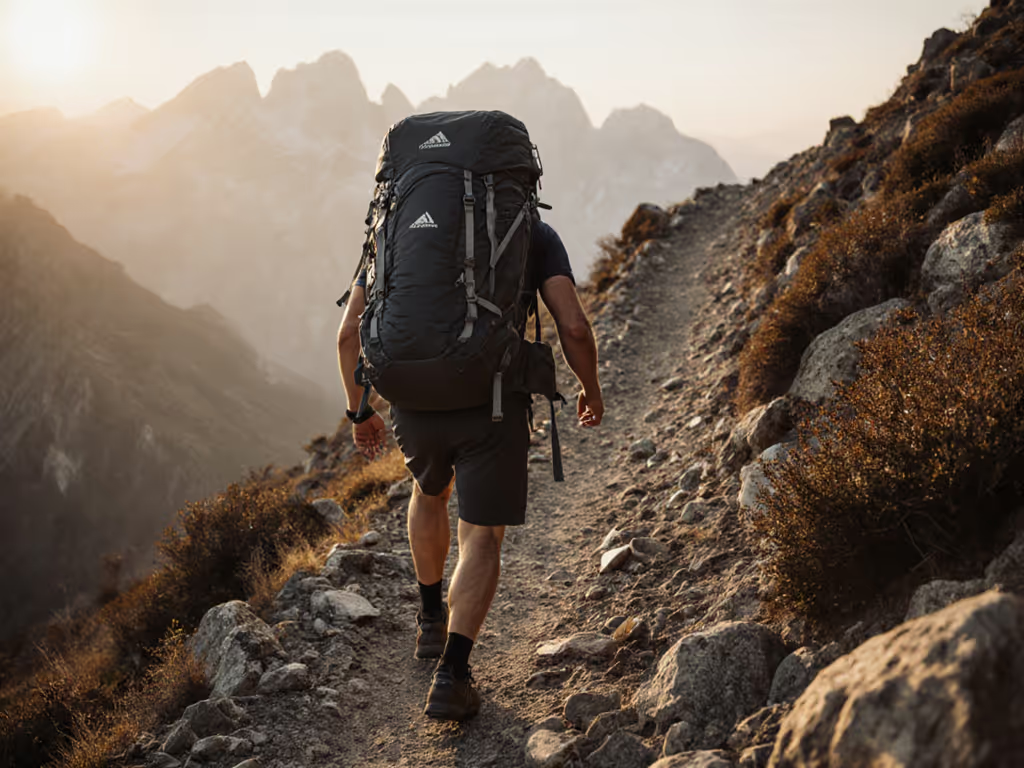
Absolutely. Terrain dictates posture. On steep ascents:
- Shorten trekking poles by 5-10 cm
- Lean slightly forward from ankles (not waist)
- Tighten hip belt 1-2 notches, prevents belt "ride-up"
On descents:
- Lengthen poles
- Slightly recline (like sitting in a chair)
- Loosen shoulder straps to let weight pull you back into stability
Ignoring this shift causes "load surge", that terrifying lurch when the pack pushes you forward downhill. One section hiker told me adjusting her poles and strap tension reduced knee strain by letting her "glide" down rocky chutes.
Final Verdict: Heavy Loads Can Be Light on You
Heavy load backpacking techniques boil down to three truths:
- Your body isn't the problem, misapplied mechanics are
- Weight distribution is dynamic, not fixed
- Comfort is non-negotiable, not a luxury
Stop accepting shoulder grooves or hip bruises as "normal." The pack should adapt to you. I've fitted hikers from 95 to 250 lbs carrying 40+ lbs, all found relief through torso micro-adjustments, hip belt rotation, and intelligent load placement. When fit respects your body, it feels like permission. So next time you shoulder your pack, do this: micro-adjust, then walk. Notice what changes. Because when the weight disappears, the trail appears, and that is why we carry on.
Related Articles