Backpack Storage Guide: Keep Gear Dry & Mold-Free
By Aisha Al-Rashid • 7th Feb
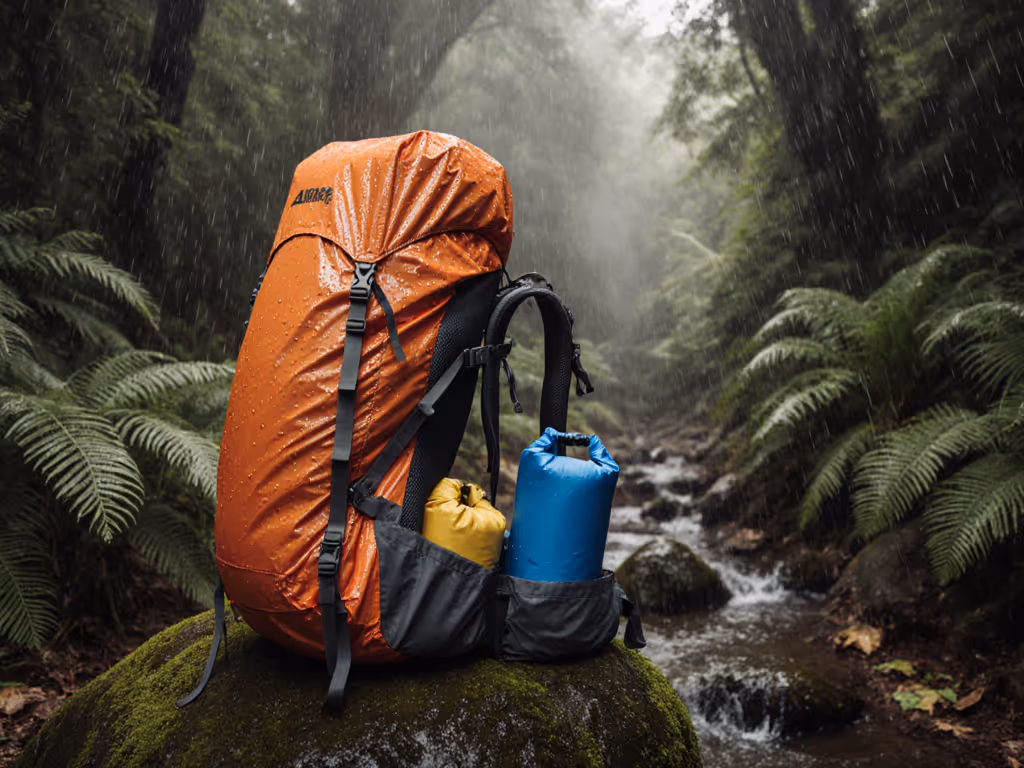
If you've ever unzipped your backpack in spring only to find musty smells or mysterious spots, you know how disheartening it is when gear fails before you even hit the trail. A solid backpack storage guide isn't just about tidiness; it's about protecting the adventures you worked so hard to plan. With the right off-season pack care, you extend not just your gear's life, but your time outdoors where it counts. As someone who's watched nervous first-timers blossom into confident hikers, I know simple systems beat complicated ones every time. Let's walk through the steps that keep your pack ready for whenever the trail calls.
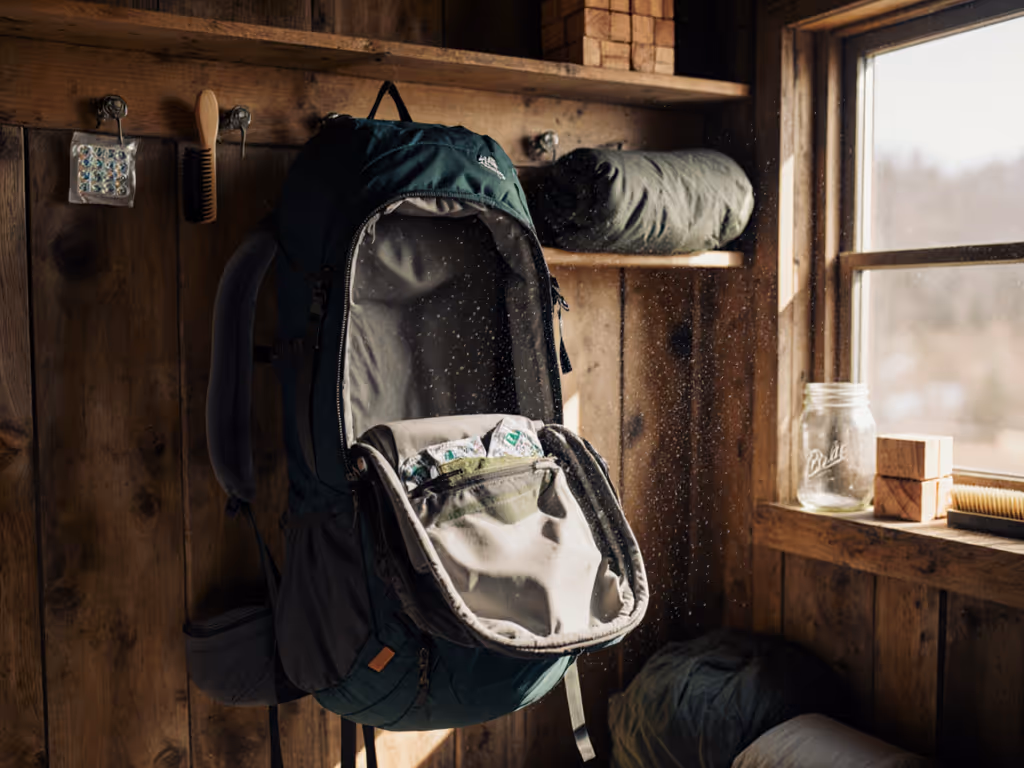
Step 1: Empty and Inspect Thoroughly
Before anything else, empty every pocket (yes, even the tiny one you forgot held trail mix crumbs last October). Food particles attract critters looking for winter snacks, and organic debris can trap moisture against fabric. Lay your pack flat and run hands over every seam, strap, and zipper. Note any snags or loose threads. For quick fixes and tune-ups, use our hiking backpack maintenance guide before issues grow. This isn't about perfection; it's about catching small issues before they become trail-ending problems.
Checklist moment: ✓ Shake out crumbs and debris ✓ Check pockets you rarely use ✓ Note repairs needed (zipper pulls, strap adjustments)
Remember that first overnight I led? One hiker apologized for moving slowly until we discovered a forgotten granola bar had drawn ants into her shoulder strap. Emptying completely isn't just clean; it's trail confidence.
Step 2: Clean with Purpose
Skip the harsh detergents. Most packs need only a damp cloth with mild soap (like dish soap or specific gear wash) to lift dirt from high-wear zones: shoulder straps, hip belt, and bottom panel. Never toss your pack in the washing machine. That brutal spin cycle damages coating and stitching. Focus on areas where sweat and dirt accumulate, then air dry completely. This is non-negotiable to prevent mold in stored packs. For step-by-step routines to stop odors and mildew, see our backpack hygiene guide.
Let your pack breathe. Storing it damp is like storing bread in a sealed bag, which invites what you don't want.
I've seen packs ruined by quick storage while still damp from a final fall hike. Proper backpack storage techniques start with patience here. Hang it in a shaded spot (direct sun degrades fabric) until every part feels dry to the touch, not just the outside.
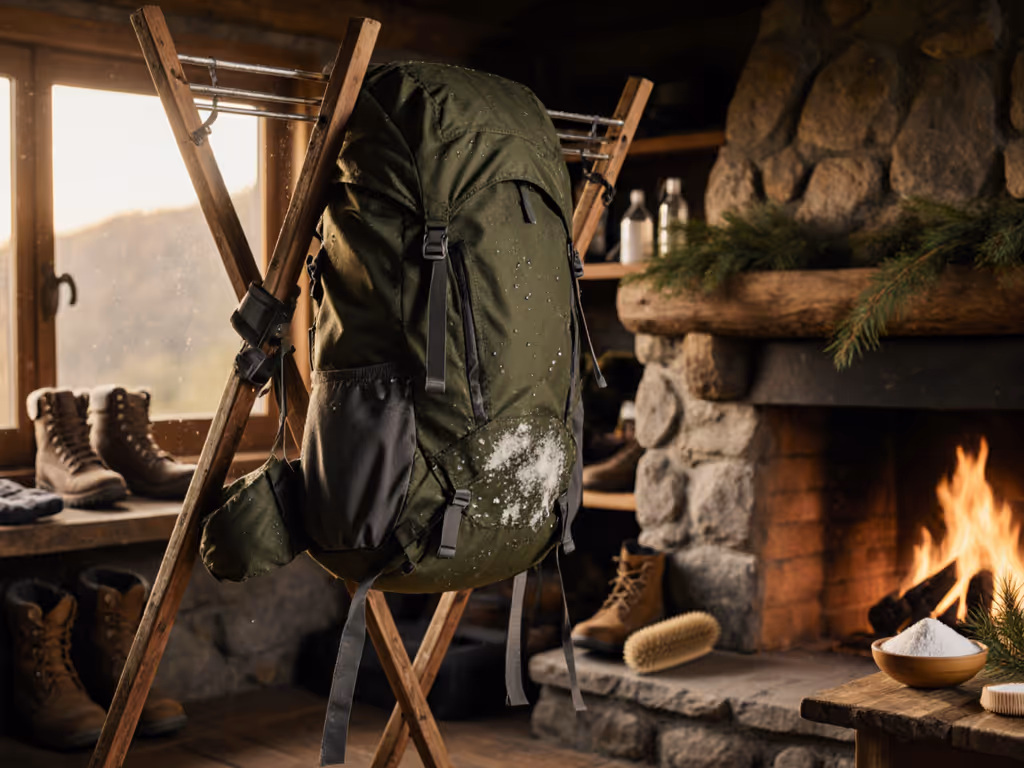
Step 3: Store Uncompressed and Open
Your pack needs room to breathe just like you do. Never store it stuffed in its compression sack or crushed under other gear. Unbuckle all straps, leave compartments open, and place it loosely in a well-ventilated space. Think of it like letting your shoes air out instead of shoving them in a dark closet. Chronic compression breaks down foam padding and fabric elasticity: the very things that make your load feel light on the trail.
Why this matters:
- Preserves suspension system integrity
- Maintains ventilation channels
- Prevents permanent creases that weaken fabric
Step 4: Choose Your Storage Spot Wisely
Ignore the garage or basement for long-term storage. These spaces often have humidity swings that encourage mildew. Instead, pick a cool, dry, dark closet or spare room shelf. If using bins, choose opaque ones (clear plastic lets UV light degrade coatings). To understand how coatings, denier, and fabric weaves affect longevity, read our backpack fabric science guide. Avoid attics; they get too hot in summer, weakening fabrics. Your goal is stable conditions, not convenience.
Spot check list: Is it dark? ✓ Is it dry (no damp smell)? ✓ Does temperature stay steady? ✓
This is where backpack preservation methods get practical. I once stored a pack in a basement during a humid winter; by spring, it had faint mildew spots I couldn't remove. Learn from my mistake: how to store hiking backpacks right means prioritizing environment over "out of the way."
Step 5: Organize for Next Season's Joy
Don't just stash and forget. Place your pack where you'll see it (a shelf, not buried under skis or camping chairs). Add silica gel packets nearby to absorb ambient moisture. If spring storms are likely, brush up on backpack waterproofing techniques so your gear stays dry once you're back on trail. If using a storage bin, leave the lid slightly ajar for airflow. Label it "SPRING READY" so you know it's waiting for you. This small step turns storage into anticipation rather than chore.
One change at a time, this system builds trust in your gear. When you retrieve your pack next season, you want that moment of relief ("It's ready, just like me"), not scrambling to fix what storage damaged.
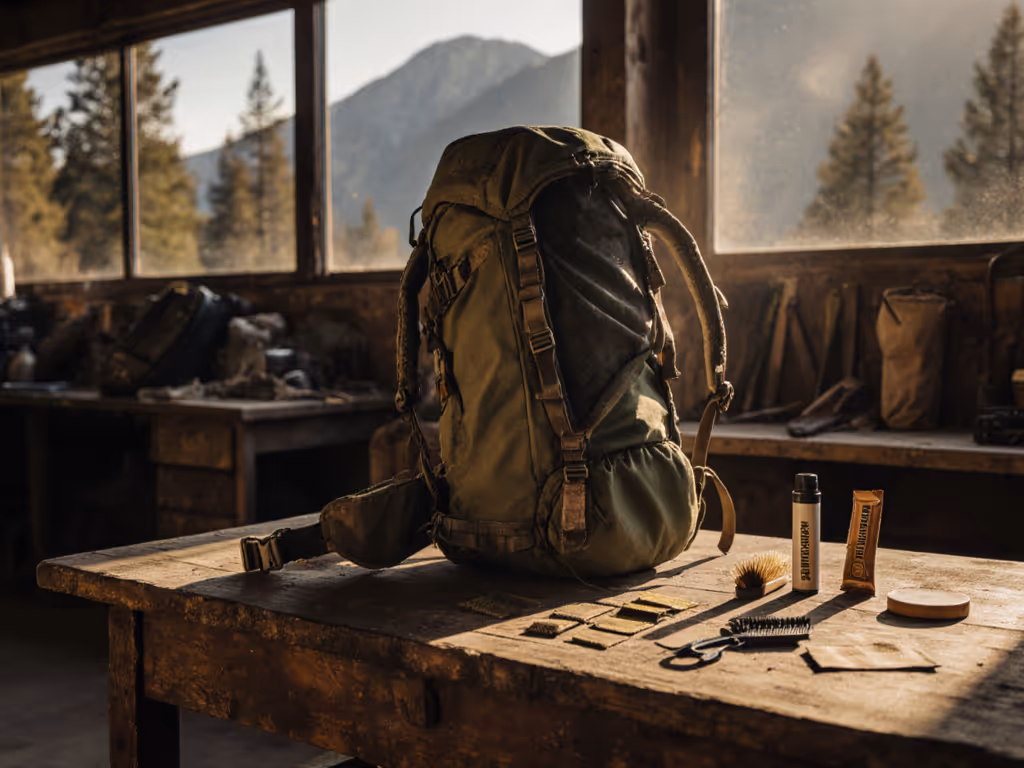
Step 6: Pre-Season Check Before Hitting Trail
Three weeks before your first hike, pull your pack out. Check straps for stiffness, zippers for smoothness, and fabric for mustiness. If anything feels off, re-wash or make small repairs. This isn't extra work; it's reclaiming hiking time. Ten minutes now prevents trail anxiety later.

Why This All Adds Up to More Trail Time
Good off-season pack care isn't about rules; it's about removing friction so your focus stays on the views, not the gear. Every hiker I've mentored who follows these steps tells me the same thing: "I forgot how much easier trail prep feels when my gear's ready to go."
Start with comfort; confidence makes the miles easier. By giving your pack this simple attention, you're not just storing equipment; you're protecting future joy. When your gear works quietly in the background, you're free to notice birdsong, help a friend with their load, or simply breathe in the mountains without distraction.
One change at a time, you build systems that last. And when that moment comes, when you're standing on a ridge with your pack feeling like an extension of yourself, not a burden, you'll know why these small steps mattered.
Ready to go deeper? Check out our seasonal gear checklist that pairs perfectly with this storage routine, because the best adventures begin with gear that's as ready as you are.
Related Articles


Care, Maintenance & Weatherproofing
Hiking Backpack Maintenance: Extend Lifespan With Proven Repairs
Use data-backed maintenance to keep load paths aligned for a quiet, stable carry at real trail weights. Get clear thresholds and fixes for hip belts, zippers, and frame sheets - plus cleaning and waterproofing practices that prevent small failures from undermining comfort and longevity.