Find Your Fit: Complete Backpack Sizing Guide
By Aisha Al-Rashid • 28th Apr
Choosing the right backpack size isn't about fancy gear labels, it's about matching your frame to a pack that holds your load comfortably and keeps you centered on the trail. A backpack fitting guide starts with three simple truths: your torso length matters more than your shirt size, capacity should match your trip duration and terrain, and the best pack is the one you'll actually wear without pain. Start with comfort; confidence makes the miles easier.
I've watched nervous hikers apologize for being slow on their first overnight, only to find they were struggling because their hip belt sat too loose or their load tilted forward off-balance. A few small shifts (nothing expensive, nothing complicated) changed everything. That's what this guide is about: the adjustments that free you to focus on the view instead of your shoulders.
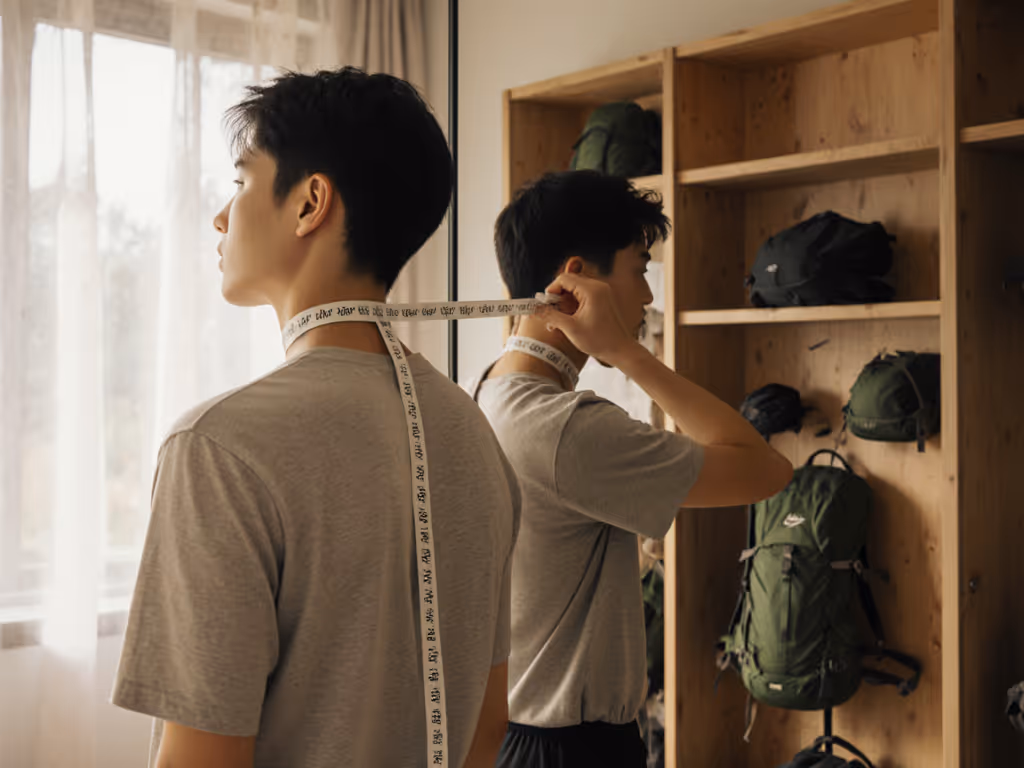
Measure Your Foundation: Torso Length
Your torso length is the distance from the base of your neck to the top of your hipbones, and it's the first number you need. This isn't your height, and it isn't your inseam. Most backpack makers use it to size their frames (XS, S, M, L, XL) because it determines how the pack's shoulder straps and load-bearing frame align with your spine and hips.
How to Measure Torso Length
You need a soft measuring tape and, ideally, a friend to help.
- Stand in a relaxed posture, feet shoulder-width apart.
- Locate the base of your neck where your spine meets your shoulders (the C7 vertebra, it's the bump you feel when you tilt your head forward).
- Locate the top of your hipbones (the highest point of your iliac crest, the sharp point you feel on your sides at waist level).
- Measure the vertical distance between these two points in inches or centimeters.
- Write this number down. This is your true torso length.
Most adults fall between 16 and 23 inches. That single number opens more doors than your gender or clothing size.
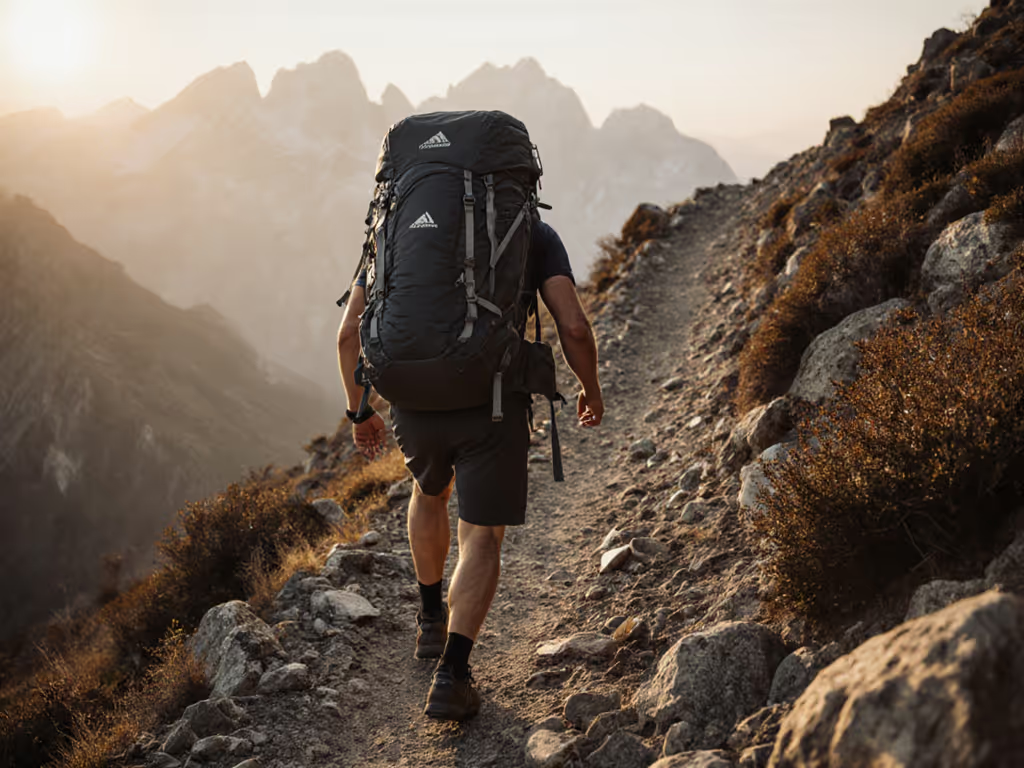
Why Torso Length Matters
When your pack's load-bearing frame fits your back, weight transfers to your hipbelt and legs instead of hanging from your shoulders. This is the difference between sore traps at mile three and a stable carry at mile twelve. If the frame is too short, the shoulder straps angle down and dig. If it's too long, the hip belt rides too high and won't lock the load. Frame stiffness and angle are engineered for a specific torso range.
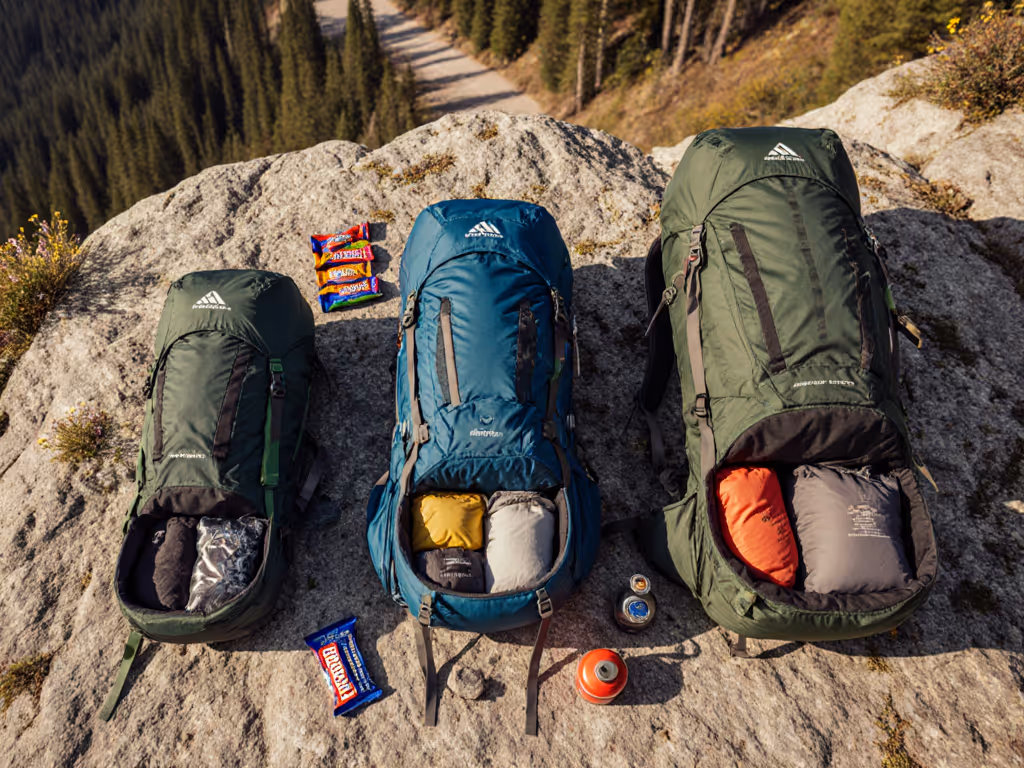
Match Capacity to Your Trip
Backpack capacity selection depends on how many nights you're out and what your terrain demands. Volume is measured in liters, a unit of how much total space the pack holds. Knowing the right range prevents both dead space (a 75-liter pack half-empty on a weekend) and squeeze-and-spill (a 40-liter pack stuffed for a four-day trip).
A Simple Hiking Backpack Volume Guide
These are starting points, not laws. Terrain, climate, and your personal gear philosophy will shift these ranges:
- Day hikes: 15-25 liters (water, snack, layer, first aid, sun protection)
- Overnight / two-night trips: 40-50 liters (sleeping bag, tent, food, stove, clothes)
- Three- to four-night trips: 55-65 liters (more food and fuel, room for wet gear)
- Five-night or longer: 65-80 liters (depends on resupply and climate)
- Technical or winter trips: often 50-70 liters (insulated gear and contingency items take up volume)
If you're mostly a weekend warrior, a 45- to 60-liter pack is your sweet spot. For a trip-length breakdown, see our 3-day backpack capacity guide. One change at a time: if you already know you carry a lot of water or bulky winter insulation, start at the higher end of your range.
True Usable Volume vs. Advertised Volume
Manufacturers list advertised capacity, but not all liters are equally easy to access. A pack with a complex lid system, narrow opening, or lots of permanent dividers may advertise 65 liters but feel like 55. Conversely, a simple tapered pack may pack every advertised liter. Read owner reviews that mention how full they stuff their pack before the lid gets hard to close (that is real-world usable volume).
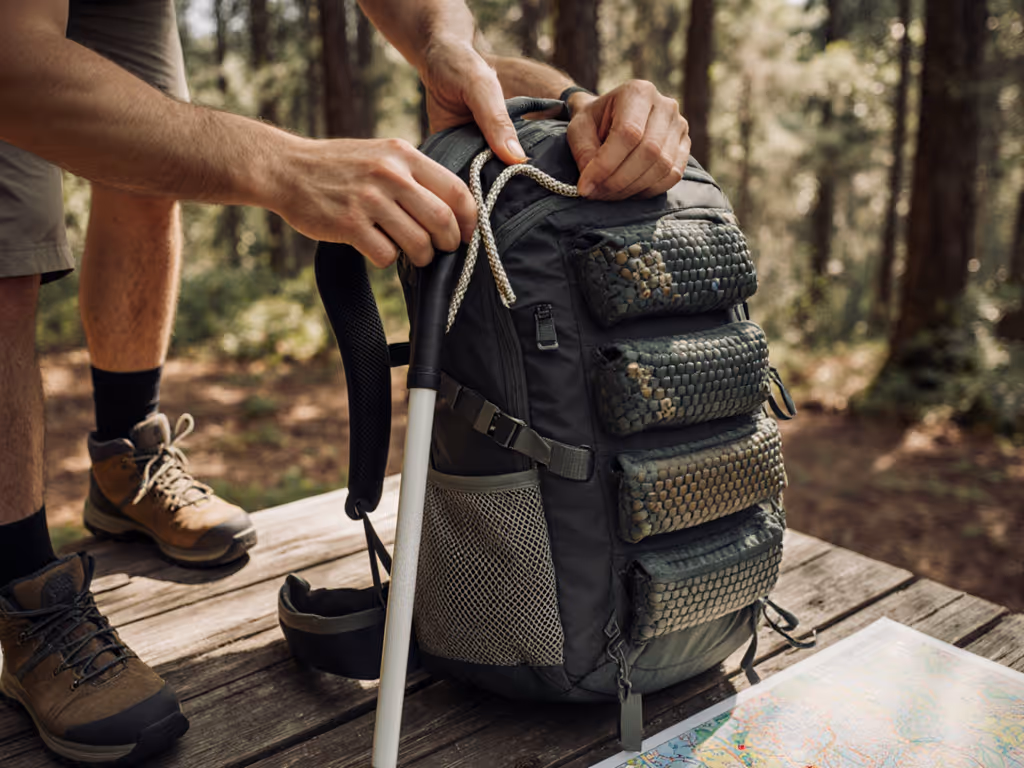
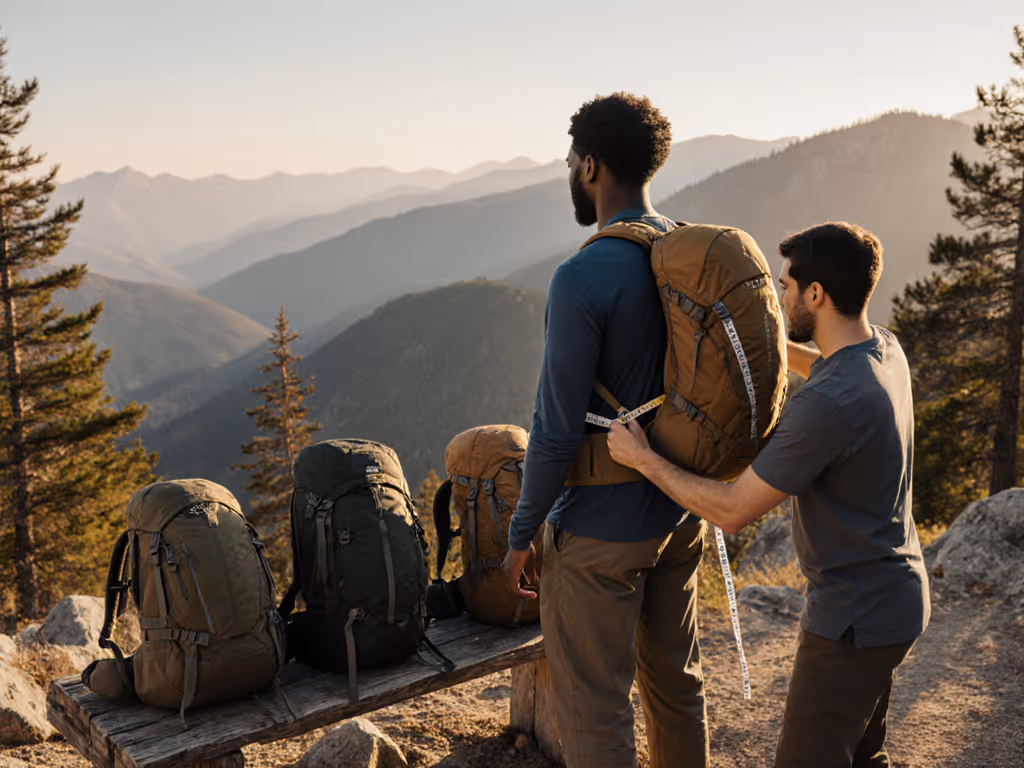
Test the Fit On Your Back
You've measured your torso and chosen a volume. Now comes the most overlooked step: actually putting on the pack with a realistic load and moving in it.
The Pre-Purchase Try-On
-
Load the pack with weight that mimics your expected trip: around 20-30 pounds for a typical two-night trip, or up to 35 pounds for longer hauls. Most gear shops will loan you sand or water to fill a pack. Don't skip this; an empty pack tells you almost nothing.
-
Adjust the hip belt so it sits on the widest part of your hips (where your hip bones flare), not on your waist. The belt should fit snugly enough that the pack doesn't shift when you move, but loose enough that you can slide two fingers under it when unloaded. This is the adjustment that often makes the biggest difference. I've seen hikers become chatty and comfortable after a single hip-belt fix.
-
Loosen the shoulder straps completely before putting on the pack. Shrug it onto your shoulders, then tighten the straps snugly (not strangling-tight). The straps should sit on top of your shoulders, not cutting into your neck or slipping off the back of your arms.
-
Check the load lifters: tiny straps that angle downward from the top of your shoulder harness. These subtle straps keep the pack's center of gravity close to your back, especially on steep terrain. Tighten them until the top of the pack is about two fingers' width away from your head.
-
Walk around the store or parking lot for at least 5 minutes. Climb stairs if there are any. Bend side-to-side. These small movements reveal what a five-hour day will tell you even louder.
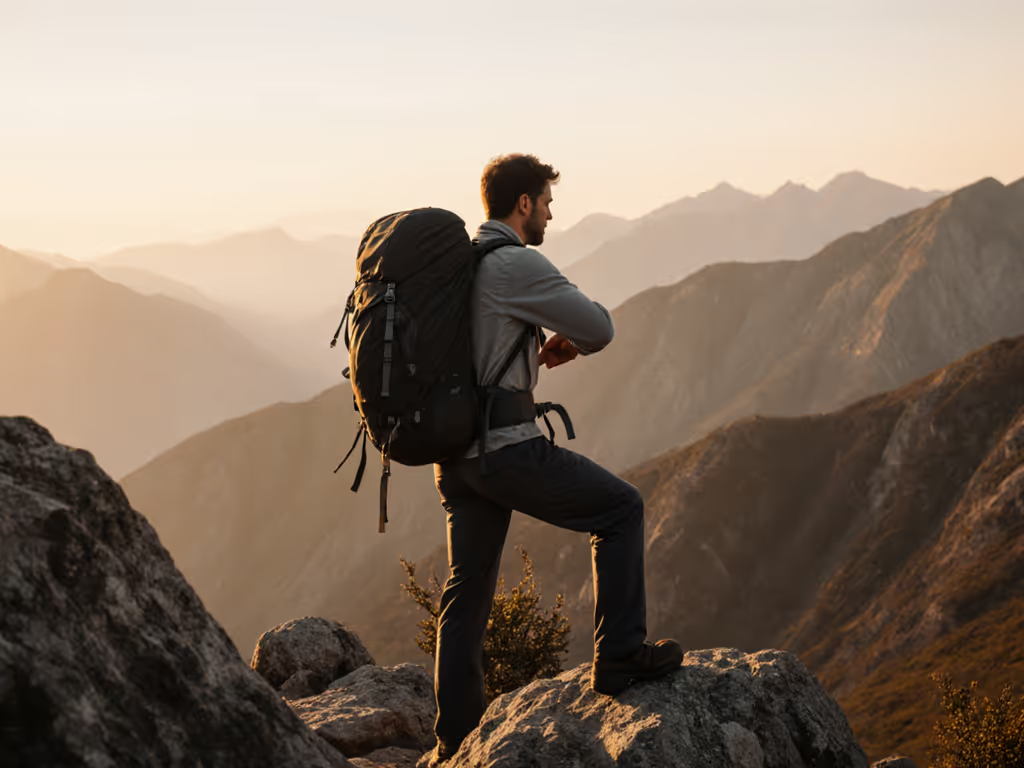
What to Feel For
A well-fitted pack feels like it's part of your skeleton, not strapped to your skin. To understand how different frames and harnesses affect comfort, read our backpack suspension systems comparison. Watch for these red flags:
- Shoulder strap cutting into your neck or traps (usually means the frame is too short or straps aren't properly adjusted)
- Hip belt sliding up or pinching your lowest ribs (wrong size or adjustment)
- Pack swaying side-to-side when you move (load lifters too loose or frame too flexible for your load)
- Numbness or tingling in your hands or upper back (usually strap pressure; loosen and reposition)
- Pressure point in the small of your back (frame stiffness or load balance issue; see a fitter or try a different pack)
If something hurts after five minutes, it will hurt much more after five hours. Do not buy it hoping it'll "break in."
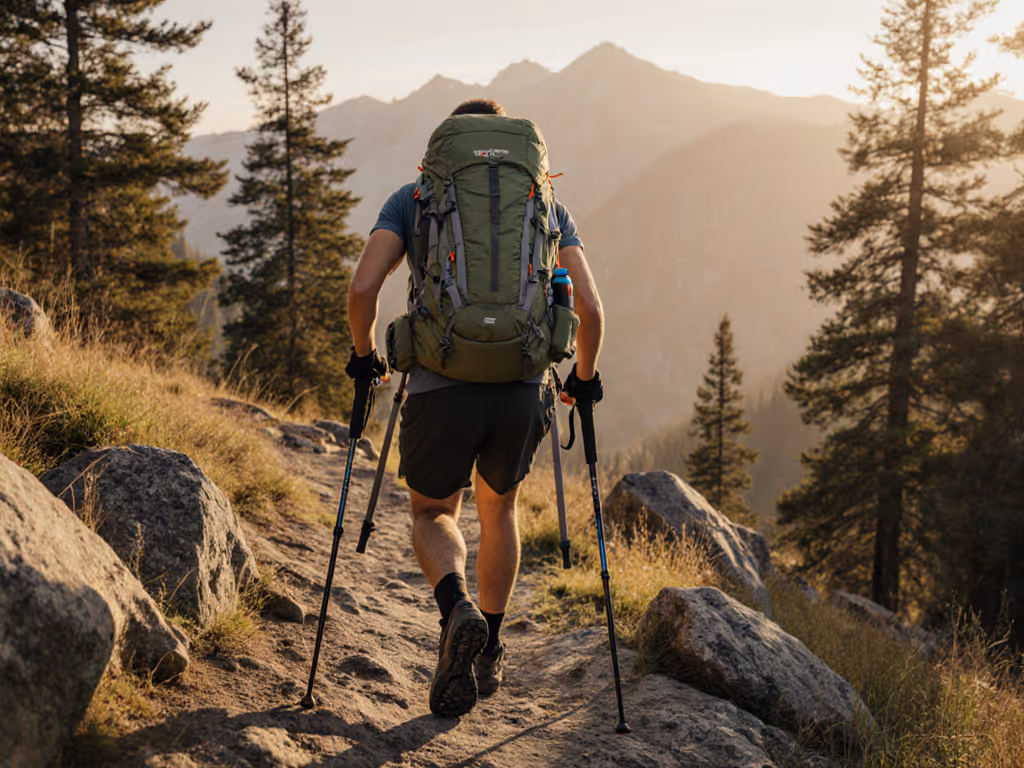
Adjust and Rebalance On Trail
Once you own your pack, trail use will teach you more. Backpack sizing chart adjustments work both ways: you can dial in the fit as you move.
Create Your Adjustment Checklist
- After 30 minutes of hiking: Stop and check your hip belt hasn't crept up or loosened. Adjust once and move on (don't obsess).
- At lunch: If shoulder straps feel loose, tighten them one notch. If they dig, loosen one notch and check your load lifters again. One change at a time keeps you from over-adjusting.
- End-of-day reset: Loosen everything slightly. Your shoulders are tired; a looser pack isn't evil, it's a rest signal.
- Weather or layer change: When you add or remove insulation, your torso geometry shifts a tiny bit. Re-check your strap tension and hip belt position if you feel a sudden shift in comfort.
A good fit isn't locked in stone. It lives and breathes with your body, the load, and the terrain.
Inclusive Sizing: Your Body Deserves Respect
Standard size charts (S, M, L) work for many people but exclude many others. If you're unusually tall or short, check our torso fit solutions for tall and short hikers. If you're on the shorter or taller end, have a straight waist, a fuller chest, broad shoulders, or a long torso relative to your height, you already know that "one-size-fits-most" is code for "doesn't fit you."
Some brands now publish backpack sizing chart data that includes multiple torso lengths within each volume (e.g., a 55-liter pack in XS for 16-17.5" torsos and a 55-liter in XL for 20.5-22" torsos). This gives you a real choice instead of forcing you to choose between a frame that's too short or a pack that's oversized.
When you try a pack, don't apologize for needing adjustments. Hip belt doesn't sit right? Ask the shop if it has a shorter or longer replacement belt (many quality packs offer modular belt options). Shoulder straps feel wrong? Reputable brands sell strap kits. Your body isn't the problem; the pack config is. Keep looking, or keep adjusting until it's right.
What Happens Next
You now have the framework to find a pack that fits your frame and matches your trips. The next step is to narrow down which packs to actually test: research brands known for your torso range and trip type, visit a shop that lets you load-test, or order from a retailer with a good return policy and commit a few hours to careful fitting at home.
Read owner reviews that mention their torso length, load weight, and terrain experience, not just their star rating. Watch for posts from hikers with similar measurements to yours; their comfort or complaints will ring true for you. If you're plus-size, short, tall, or built outside the typical model, seek out communities (online forums, local hiking groups, or maker Discord channels) where people like you share fit data.
One more thing: a pack is an investment in comfort and time outside. The goal isn't to own gear that looks impressive, it's to own gear that lets you forget about the pack and remember the miles, the light, the moments when your shoulders relax and your mind opens to the trail.
Related Articles